Maybe you’re a professional product photographer who loves the effects of natural light or a portrait photographer who relies on outdoor studio setups… Natural lighting can be a photographer’s best friend, but it also has drawbacks. To someone who hasn’t worked with artificial lighting it may appear too technical and time-consuming, but don’t shy away from using it because you’ll miss out on all the advantages. Artificial lighting doesn’t need to be complicated to recreate that natural light look.
Not sure where to start? We put together this lighting guide so you can enjoy all the benefits of natural lighting photography indoors, by learning how to fake natural light.
Contents:
- Why do photographers love natural light?
- Why do you need artificial lighting?
- 3 advantages of faking natural light for your indoor photography
- 3 types of artificial light you can use to mimic artificial light indoors
- Natural light characteristics
- 8 ways to fake natural light photography indoors
- FAQs
Why do photographers love natural light?
Natural light photography uses the sun as the light source. There are many advantages to using natural lighting, firstly, it’s affordable for beginners - there’s no need to buy any expensive lighting equipment. You can also shoot a variety of moods as the sun moves throughout the day - from bright, white midday light to a golden, diffused sunset. Natural light can be used for different types of photography from landscape to portrait and you don’t need to lug around lots of equipment from shoot to shoot. You can also use natural light indoors as well as outdoors by utilising the sunlight streaming in through windows and doorways.

Why do you need artificial lighting?
The major downside to only shooting with natural light is its inconsistency. There will be times you just can’t access the kind of natural light you want to use. That could be due to weather, time of day, or not having access to a daylight studio. But the great news is by utilising artificial light, you don’t have to wait for the perfect natural lighting to capture your subjects exactly as you want to.
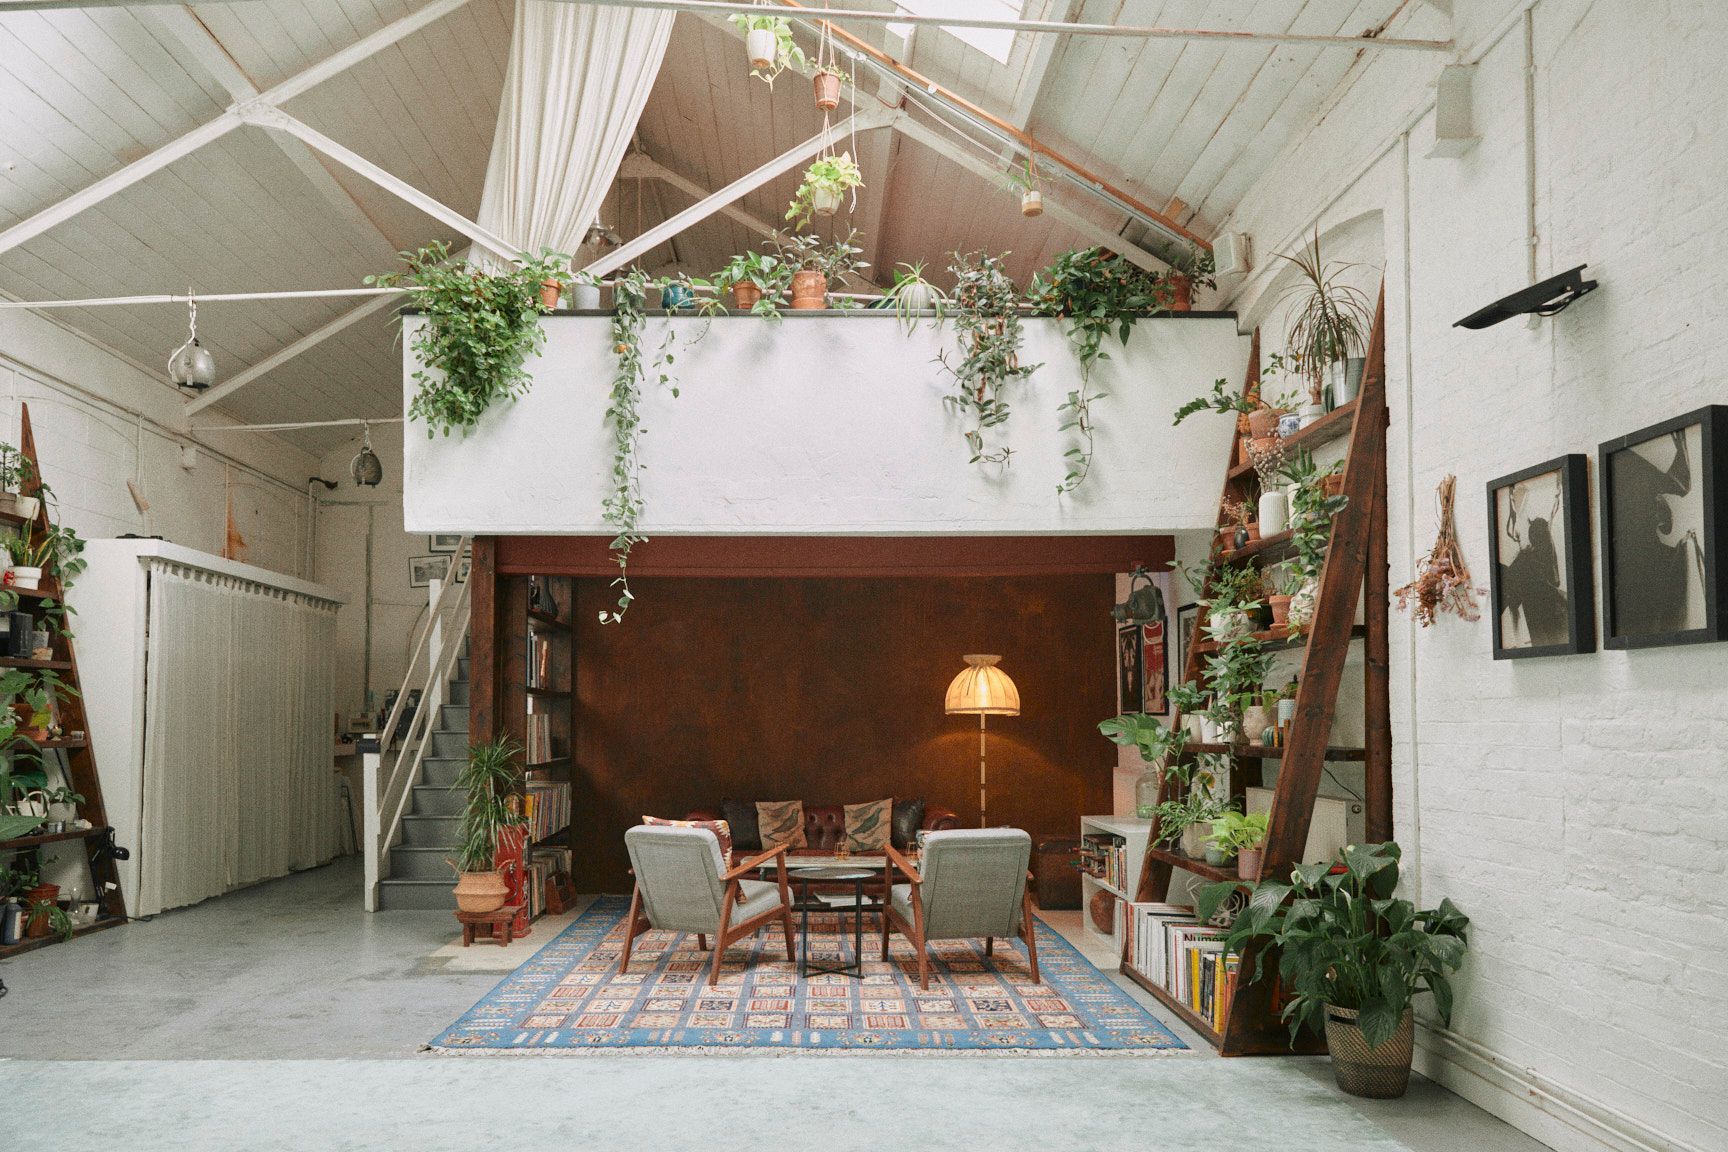
Hire daylight studios for your next photoshoot
Choose from 1000+ spaces and locations on Tutti and deal directly with space hosts for a quick, hassle-free booking process.
3 advantages of faking natural light for your indoor photography:
- You can shoot any time of the day, no matter the weather. It also allows you to work at night and accommodate clients’ schedules. During winter you may have very short daylight hours, which will restrict your work day if you are relying on natural light. Using an artificial lighting setup can therefore allow you to get more photography clients.
- It creates consistency across your portfolio of images. When a client likes the work they see on your photography website or social media accounts, they will expect you to be able to replicate this for them. Natural light however can change over the course of a single photo shoot - the sun will move, clouds will come and go, and the colour temperature of the light will shift, creating more work for you in the editing process.
- Once you know your lighting setup, you have more time to focus on other photography aspects you’d like to improve like posing, set design or photoshoot concepts. You can relax knowing your lighting will look good regardless of any other changes you make.
3 types of artificial lights you can use to mimic natural lighting indoors
1. Flash guns: Also known as “off-camera flashes” these are portable flashes that can either be fired on a hot shoe (the mount on top of the camera) or fired wirelessly on a cold shoe. They are small, lightweight, and you can easily move them around your set.
2. Strobes: These work in a similar way to flash guns because they produce a short burst of light, however, the light is much stronger and emits a shorter burst of light than a flash, enabling you to shoot faster. They’re often connected to mains instead of a battery.
3. Continuous lights: These lights remain on for the duration of the shoot rather than giving off a burst of light when you fire the flash. This means you can adjust the lighting more easily because you can see how it behaves in real-time, but on the downside, these lights are larger and therefore less portable.
If you’re new to setting up a photo studio, read more tips in our photo studio equipment guide.

Natural light characteristics
Artificial light is often associated with hard light, while natural light is associated with soft light. Hard light means the light source is small and concentrated, creating a high level of contrast and sharply defined shadows. The distance from the light source to the subject also affects the softness of the light - the farther away the light is the harder it appears.
Of course natural light can also be hard, for example, direct sunlight around midday at its highest point in the sky creates harsh shadows when there are no clouds to diffuse it. Generally, when you’re setting up artificial lighting you want to mimic the soft, diffused light of a cloudy day.
[youtube https://www.youtube.com/watch?v=wghG_0adW3w?]
8 ways to fake natural light photography indoors:
1. Remove the flash from your camera
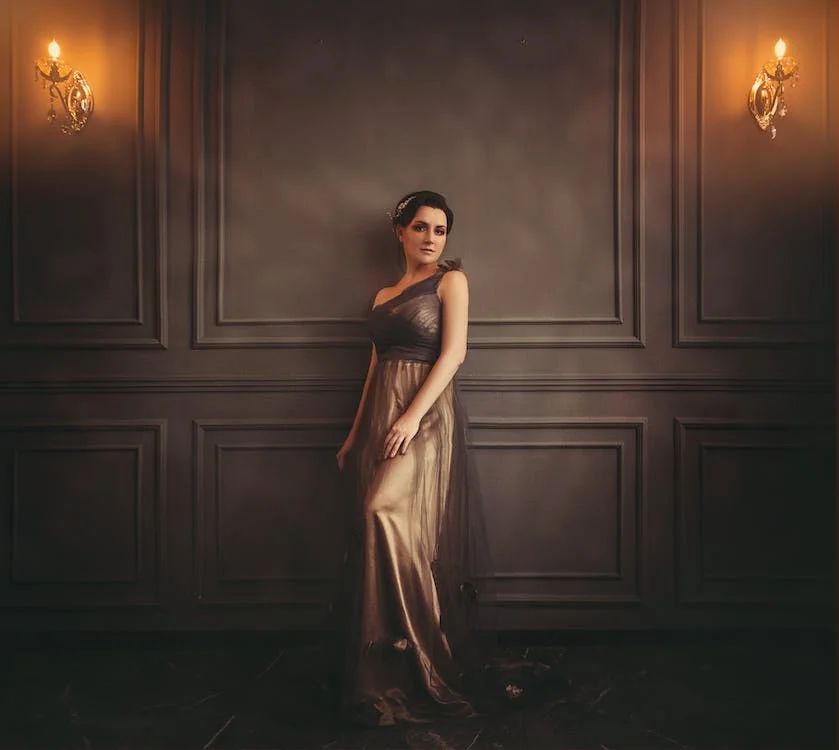
If you add a flashgun to your camera and start shooting away, the results will tend to be unflattering. Front lighting makes a subject look flat because there are no shadows to define the subject’s features and create depth. You’ll notice portrait photographers often use two lights angled 45 degrees on either side of the camera instead. This placement produces a soft shadow and depth while leaving out harsh dark shadows caused by a single directional light. The two lights balance each other out and appear diffused and soft on the subject's face.

2. Add lights one at a time
Photographers commonly use a three-point lighting setup to create a three-dimensional look. The main light source is the key light, the secondary light is the fill light and is responsible for exposing the details that fall into the shadows of the key light, and the third is the backlight placed behind the subject to separate the subject from the background.
It’s important to first assess the room without any artificial lights to see how much natural light there is (or you’ll start with a completely dark room if you are using a blackout studio). Then add your key light source first to illuminate the subject and adjust as necessary before adding the next. When you start with multiple lights it becomes difficult to achieve the right amount of shadow and is more likely to look unnatural.

3. Use motivated light
Motivated lighting is the technique used to emulate or enhance existing light sources.
The first step is to identify the natural light entering the space, either through a window or doorway, and note what direction it is coming from. You want to place your primary artificial light source (or key light) so it shines in the same direction. It’s a good idea to set up your flash or continuous light on the other side of the window or doorway to control the light through the space. The intention is to replicate daylight and dial up the amount of “natural” light entering the room.
When we can see a window in a photo, we naturally expect the light to come from that direction, in fact, if you set up lights coming from the opposite side of the frame it wouldn’t look natural and might even subconsciously confuse the viewer.

4. Diffuse the light
Sunlight when dispersed through clouds spreads out in many directions and creates soft shadows. On the other hand, a flashgun or strobe is a narrow, directional light and therefore will cast harsh shadows. To create a softer and more natural effect you’ll need to add a diffuser. A diffuser acts like clouds in the sky and spreads out the light and reduces light and shadow contrast. This could be a softbox or a simple piece of material like a white sheet attached with clips or gaffer tape. Place your artificial light source on a stand behind the diffuser and on the opposite side of your subject. To maximise the brightness of the light, place your subject as close to the diffuser as possible.

5. Bounce the light
Another way to diffuse your light to fake natural lighting is to aim it at the ceiling or a wall so the light bounces back onto the subject, creating a much softer appearance. Bouncing light at the ceiling will mimic overhead lighting while bouncing it off the walls will create more directional lighting. Be careful of coloured walls and ceilings, because bouncing light off these will cast unwanted colour over your subject. You can also use a white poster board or a reflector instead of a wall or ceiling.
6. Use mirrors to fake sunlight
To create interesting natural light effects you can take a light source and direct it at a square mirror (or multiple mirrors) set at an angle towards your subject. You may want to play around with the size and distance of the mirrors to see the different effects. The reflected light will result in squares of more intense light cast across the subject like beams of sunlight streaming in through a window, creating realistic and appealing shadows across your scene.

7. Adjust the camera’s white balance
Your camera's white balance controls how it captures the temperature of the light. You don’t want your photos to appear too warm/orange or too cold/blue because then the lighting will look unrealistic if you're trying to replicate natural light, you can adjust the white balance on your camera to compensate for this. You could use your camera’s auto white balance (AWB), but this does a greater job outdoors in daylight so when shooting indoors we recommend practising setting your white balance manually.
Colour temperature is measured in Kelvin, and as Kelvin temperature increases, it transitions from a warmer light to white then a cooler light. A Kelvin temperature of 6500K or higher will produce a blue light similar to that of an overcast sky and temperatures of 3000K and a lower trend towards orange colours, similar to that of candlelight. In a traditional three-point lighting setup, you will typically adjust your white balance to match the key light. This will make the exposure in your shot appear natural and realistic.
Another way to enhance your control over colour temperature is to shoot in RAW mode. This is because files saved as JPEGs don’t contain enough data to change the colour temperature in the editing process. You can adjust some factors like hue and tint, but the results will not be as effective as a RAW file. Lightroom and other RAW editors have a slider to tweak and improve the colour temperature as necessary. This file type contains enough data to easily adjust the colour temperature as if you were still taking the photo in real-time.

FAQs
Why would I need to fake natural light in photography?
Natural light isn’t always available, especially in indoor settings, at night, or on cloudy days. Faking natural light allows for flexible shooting conditions while maintaining a natural look.
What are some common tools used to fake natural light?
Popular tools include softboxes, LED panels, ring lights, diffusers, and reflectors. Each provides soft, even lighting that mimics daylight.
How do I diffuse artificial light to make it look more natural?
Use materials like softboxes, umbrellas, or a simple white sheet to spread out the light, reducing harshness and making it appear more like sunlight.
What is the best colour temperature to mimic natural light?
Natural light usually ranges between 4000K and 6500K depending on the weather, season and time of day. Natural light during midday is neutral, while early morning or late afternoon light is warmer, so adjust your lighting setup based on the effect you want to achieve.
What are some common mistakes to avoid when faking natural light?
Mistakes include using overly harsh lighting, ignoring the direction of light, or failing to balance the colour temperature. Also, avoid unnatural shadows or using too many light sources that make the scene look flat.
Start building your indoor natural lighting setup today!
You don’t need to go out and buy lots of lighting equipment to get started, keep this guide to hand and start experimenting today with just one additional light source like a flashgun along with a diffuser.
Once you are comfortable with your indoor setup, you’ll realise how freeing it is to be able to recreate natural lighting at any time of the day or night - unideal weather conditions and limited daylight hours will no longer hold you back from shooting. You’ll wonder why you didn’t take control of your lighting environment sooner! And the results will speak for themselves, you’ll notice how much faster your skills improve when you can shoot consistently. And with greater flexibility to get more clients, watch your photography business grow.
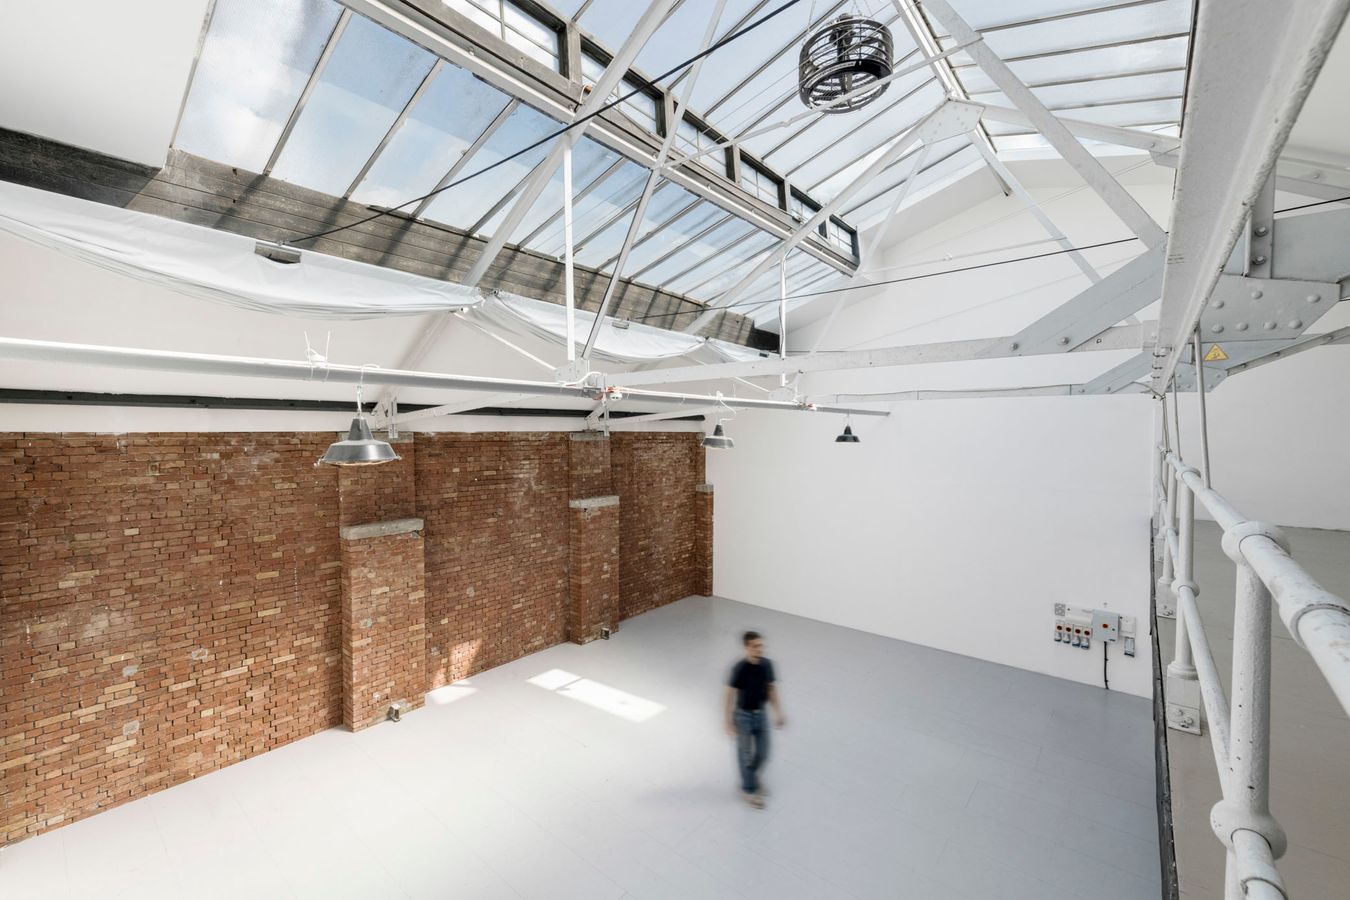
Hire locations for your next photoshoot with Tutti
Choose from 1000+ spaces and locations on Tutti and deal directly with space hosts for a quick, hassle-free booking process.