
Interested in using a green screen for the first time in your next creative project and not sure where to start? In this detailed guide we share everything you need to know from best practices, how to set up your shots and where to access a green screen, so you can dive in with confidence and master your green screen filmmaking skills.
Having knowledge of green screens will give you endless creative possibilities, whether it's creating special effects, changing locations, compositing shots, or incorporating product placements, a green screen is an essential tool in the world of video and film production.
Contents:
- What is a green screen?
- How are green screens used in film and TV?
- Should you buy a green screen or hire a green screen studio?
- What are the cost benefits of filming with a green screen?
- A step-by-step guide to using a green screen
- Check size requirements
- Establish you budget
- Choose a shooting location
- Organise your lighting
- Set up your shot
- Choose your editing software
- FAQ
What is a green screen?

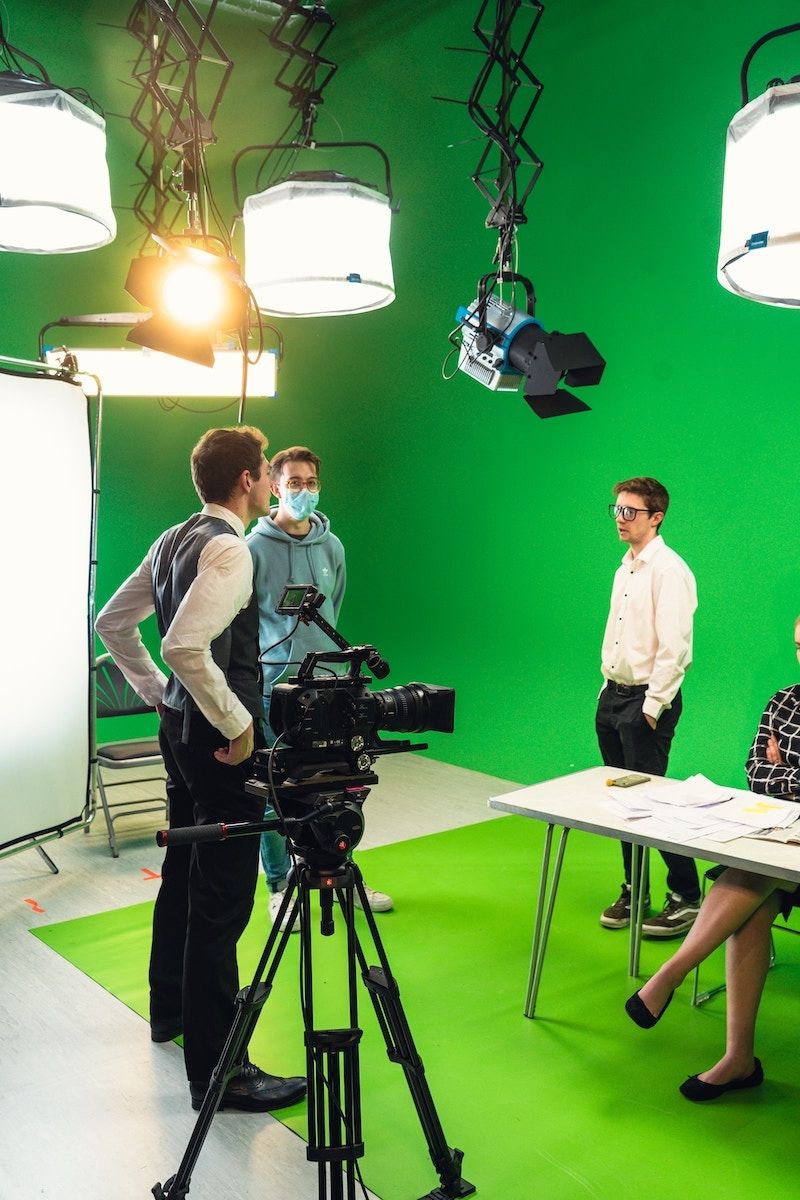
It is, in fact, exactly what it sounds like. A green screen is a physical screen, large, flat, and uniformly coloured green, which is used as the backdrop in a scene.
Green screens allow filmmakers to seamlessly blend different elements together, creating the illusion of the subject being in a different environment or interacting with virtual objects or characters. The process is also known as chroma keying.
During post-production, editing software is used to identify and digitally remove the green colour so the subject appears isolated on a transparent background. With the green screen removed, a different background image or video can be inserted behind the subject.
The colour green is chosen because it is a colour that is rarely found in skin tones or clothing, making it easier to separate the subject from the background.
Further adjustments can be made to refine the video, such as adjusting the transparency of the subject, matching lighting and colour grading, and ensuring proper blending between the subject and the new background.
How are green screens used in film and TV?

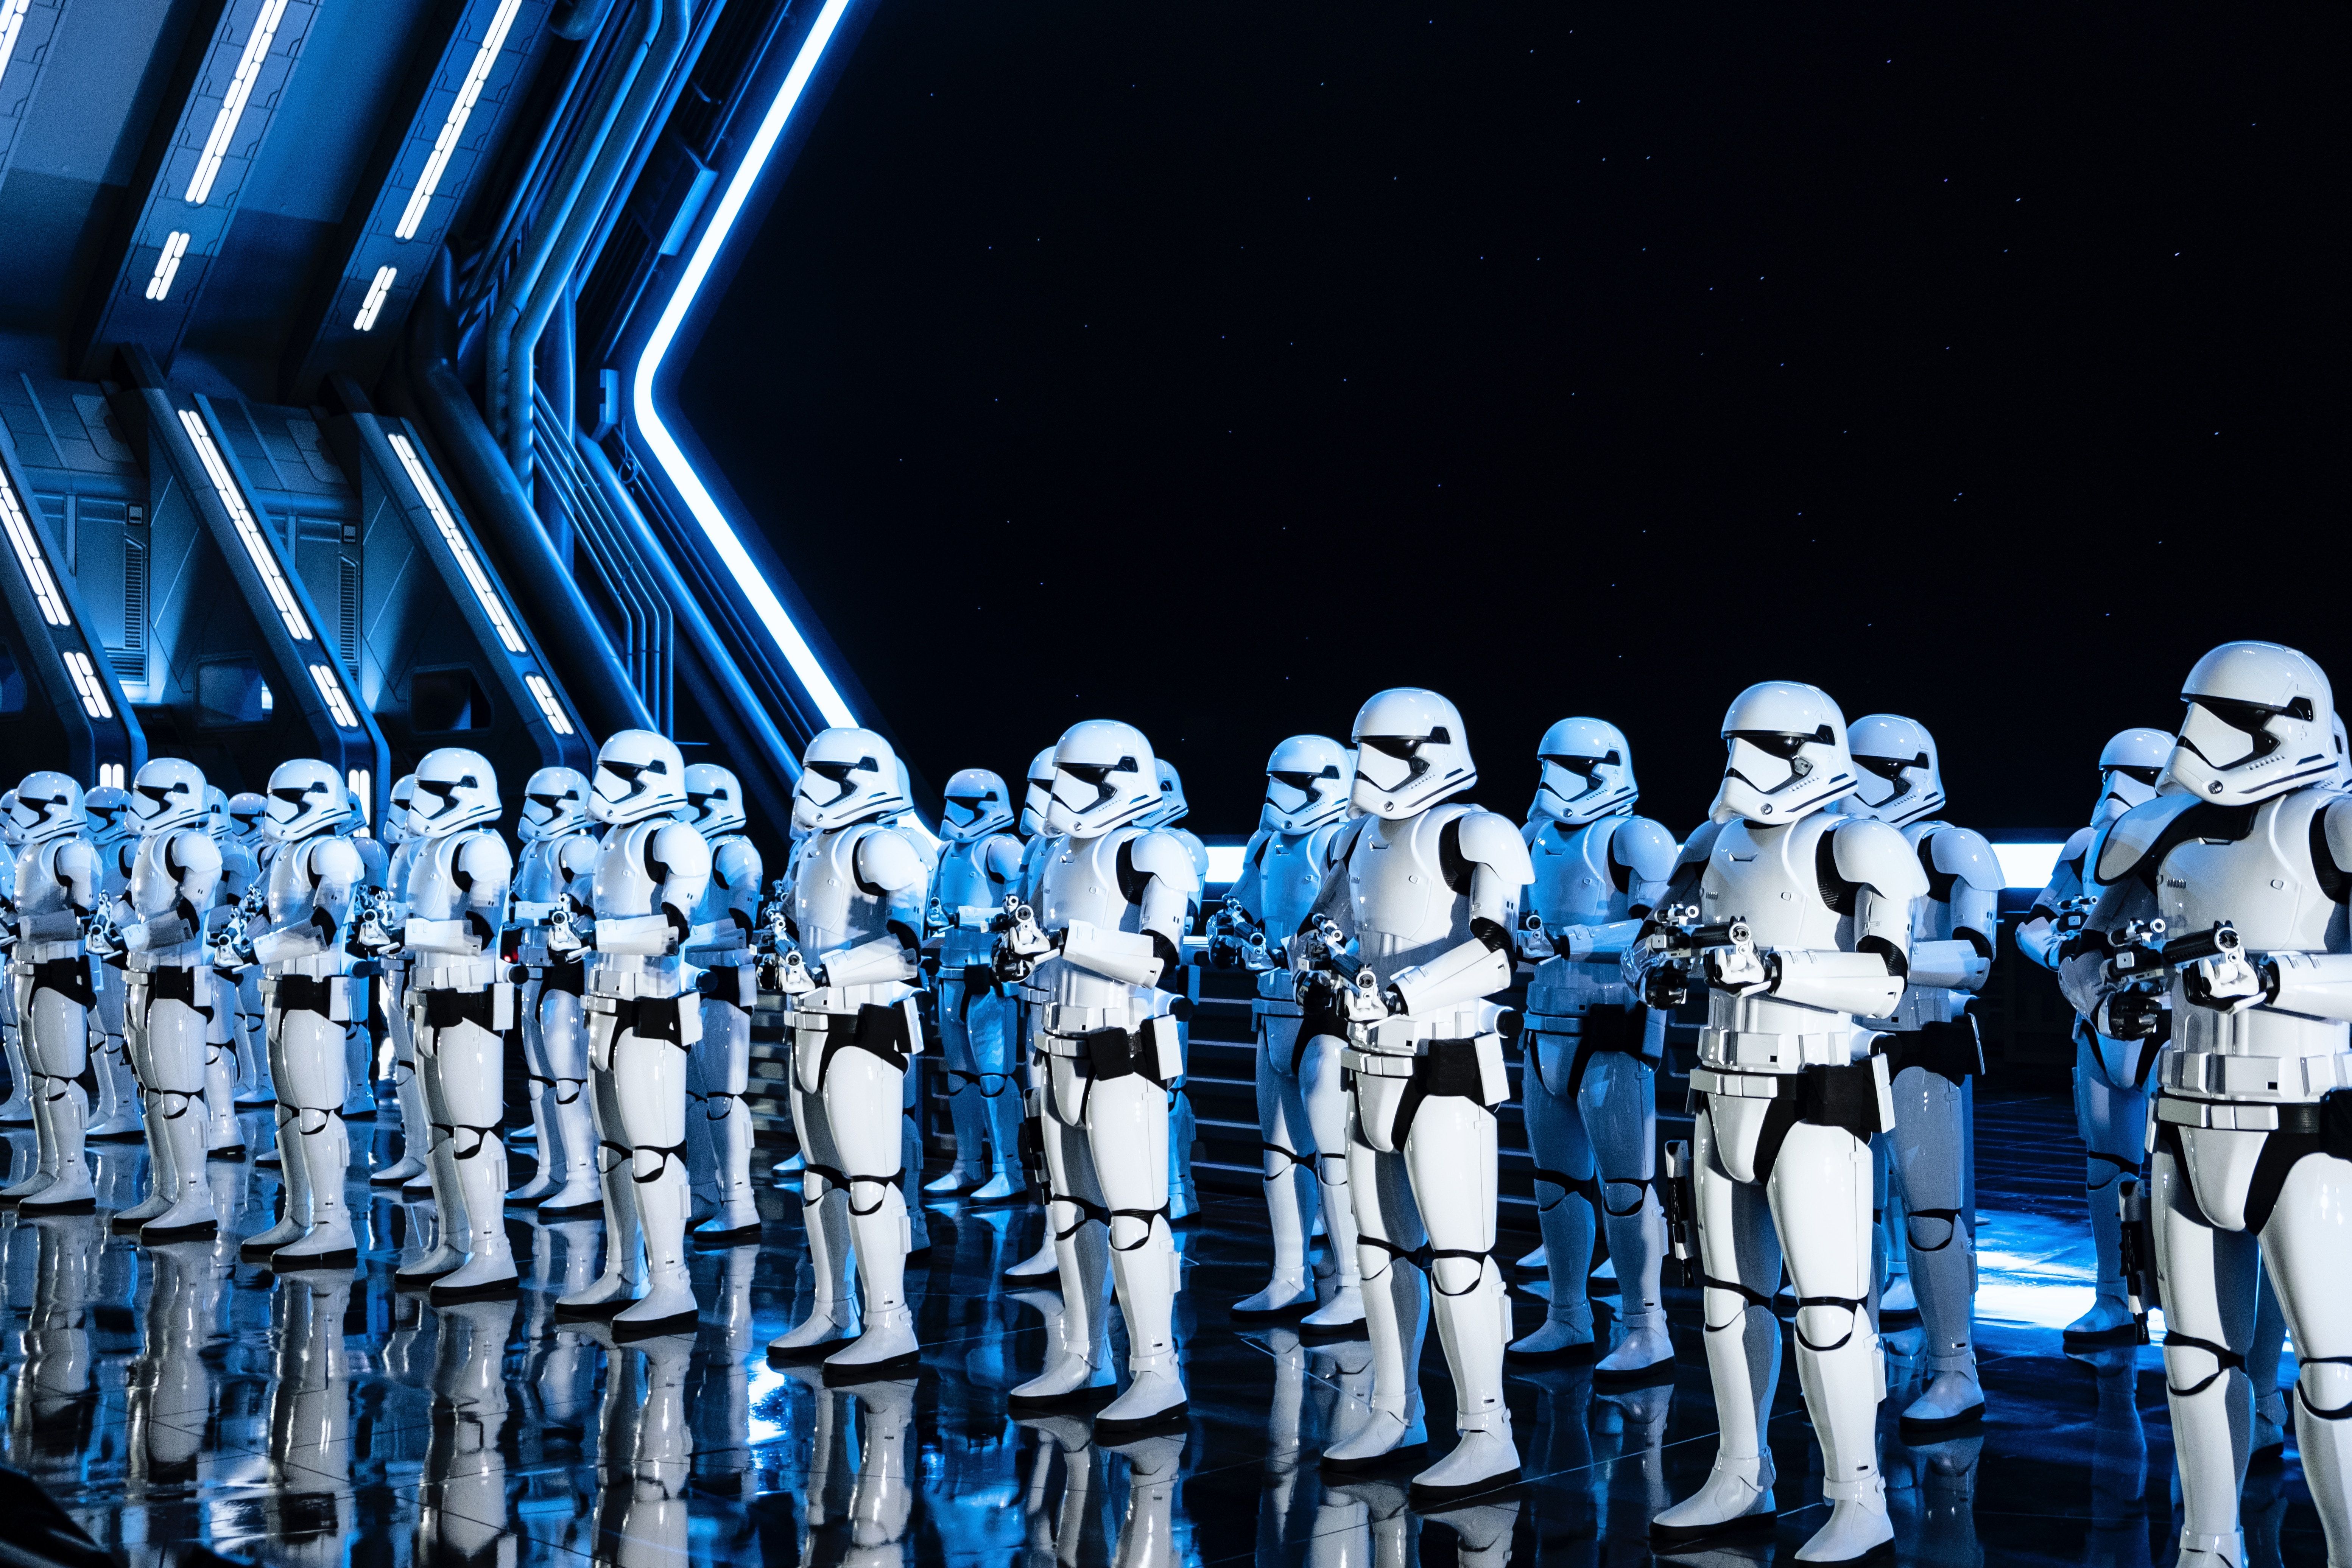
In movies and TV shows, a green screen is often used to add explosions, imaginary monsters and immerse characters in fantasy worlds. In fact, it can be difficult to think of a new release film that doesn’t use any visual effects these days. By filming actors in front of a green screen, the special effects team can then superimpose the desired special effects onto the footage.
Another way green screens are used is to change locations without needing to travel. This can be ideal for filmmakers who don't have the budget to travel around the world to exotic locations. It can also be used in situations where travelling to the location isn't safe or possible on short notice, for example, a news reporter reporting on a flood can be filmed in front of a green screen, and then the footage can be superimposed behind them.
A green screen is also commonly used for compositing (or layering) shots. In this case, filmmakers can use a green screen to layer different shots together to create a seamless scene. For example, if a director wants to film a car chase scene, they can film the car driving on a green screen, and then composite shots of the actors in the car and the surrounding action onto the green screen footage. This allows filmmakers to create complex and visually stunning scenes that would otherwise be difficult or impossible to film.
What are the cost benefits of filming with a green screen?
Shooting on-location outdoors can be extremely unpredictable, especially in the UK. Undesirable weather can slow down or even halt production, costing time and money and sometimes risking the completion of the project.
Alternatively, using a green screen will ensure your shoot days will definitely go ahead, which is especially important if you have limited time and a small budget.
You can also avoid the need to shoot in multiple locations, minimising transport costs, and reducing the amount of equipment required. With a green screen you will only need one lighting setup because the lighting requirements will rarely change, and typically the lighting only needs to be setup once per shoot rather than multiple times for each scene.
And because you will have a digital background you also don't need to worry about sourcing props and constructing sets which can be time consuming and expensive.
Should you buy a green screen or hire a green screen studio?
The answer will depend on a few different factors. Firstly, how often you want to use a green screen will determine whether it's worth the investment, as a good quality fabric screen can set you back several hundred pounds.
Secondly, do you have the space to store your own green screen? Green screens come in a range of sizes online, with smaller portable options available which fold up into carry bags. But if your scenes require a large screen then it could be worth hiring a green screen studio instead.
The advantage of hiring a professional studio with a large green screen is it allows for more filming angles. Some studios even have drive-in infinity coves with green-painted walls and floors.
Lastly you'll need to consider where you intend to film. Will you be filming in multiple locations and do you have space to set up a green screen there? If you would like to hire a film studio then it will be more convenient to choose one with a green screen to save you the effort and cost of transporting your screen to the studio.
Find green screen studios for your next video shoot
Choose from 1000+ spaces and locations on Tutti and deal directly with space hosts for a quick, hassle-free booking process.

A step-by-step guide to using a green screen
Check size requirements
You want to make sure that the green screen is large enough to cover the entire background of your scene, without any gaps or wrinkles. This will ensure that the green screen can be effectively removed during post-production. Generally, the green screens that you buy come in standard sizes, such as 5x7 feet, 6x9 feet, and 10x20 feet.
Here are a few things to consider: The size of the green screen should be proportional to the size of the subject you want to film. If you're filming a single person, a smaller green screen will do, but if you're filming a group of people or larger objects, you'll need a bigger green screen.
The size of the green screen should also take into account the camera angle and distance from the subject. If you're filming from a closer distance or a tighter angle, a smaller green screen may work, but if you're filming from farther away or a wider angle, a larger green screen may be necessary to ensure the subject stays within the frame.
Finally you need to consider your post-production needs, so if you plan to do a lot of compositing or special effects in post-production, a larger green screen will provide more flexibility and options for compositing.
Establish your budget
When purchasing your own green screen, the cheapest option is to go for a disposable paper screen on a roll. You can simply tear off the used section and you're ready for your next shoot.
Alternatively, fabric green screens are more durable and can be washed and reused and are typically made of polyester or muslin fabric. They are also more expensive but are a good investment if you want to maintain a consistent background across your scenes.
Portable green screens are lightweight and designed for mobility. They are often made of collapsible fabric or wrinkle-resistant materials so they are easy to use, but don't come in as many size options.
Hiring a film studio with a green screen is generally the most expensive option, but if you are planning to hire a studio space to film regardless, then you won’t need to worry about the purchase and transport costs for your own green screen.
Choose a shooting location

If you are choosing a film studio location with a green screen, there are a few factors to consider. Firstly determine your lighting requirements — are you looking for a daylight studio or a blackout studio for full lighting control?
The size of the studio itself needs to be large enough for your production needs, to ensure your team and your equipment fit comfortably in the space.
You also want to consider the convenience of the location such as access to public transport, parking availability, and whether there are nearby amenities for your crew to grab food on their breaks.
Most film studios are happy for you to take a tour before you book the space so you can check it meets your requirements. Pay attention to the size and layout of the studio, lighting options, electrical capacity, and acoustics.
Organise your lighting
Proper lighting is essential for achieving a clean and even key during post-production. You want to make sure that your green screen is well-lit with soft, even lighting to avoid any shadows or reflections.
Backlighting the subject can help separate them from the green screen and create a clean edge for keying. This can be achieved by placing a light behind the subject, aimed towards the green screen.
Using multiple lights can help create a more even spread of light and avoid any hot spots or shadows. Place lights at different angles to achieve an even spread of light across the green screen.
Use a light meter to ensure that the green screen is evenly lit and the subject is properly exposed. This will help avoid any overexposed or underexposed areas that can affect the keying process.
For more information on the equipment you need to set up your studio, read our film and video lighting guide.
Set up your shot

Camera placement is an important factor to consider when using a green screen. You should position your camera at the correct angle to minimize distortion and avoid any unwanted shadows or reflections.
Your subjects should also be positioned far enough away from the green screen to avoid casting shadows or creating reflections. Make sure that there is enough distance between your subject and the green screen to ensure a clean key.
It is also important to consider clothing and makeup. Avoid clothing and makeup that match the green screen colour, as this can cause issues during editing. Additionally, make sure that your subjects wear clothing that is not too shiny or reflective, as this can create unwanted reflections on the green screen.
Consistency is key to ensuring seamless composite footage. To keep your green screen footage consistent, use the same lighting, camera settings, and green screen for all shots in the scene.
Choose your editing software
Each software option has its strengths and weaknesses, and the best choice for you will depend on your specific needs. Some are free or have a free version with limited features, while others require a subscription or purchase. It's important to research and compare each option to find the software that best suits your needs and budget.
Here are 4 popular software choices for editing green screen footage:
- Adobe After Effects: After Effects is a powerful paid tool for compositing and special effects. It offers advanced keying tools and supports a wide range of file formats.
- Davinci Resolve: Resolve is a professional-grade editing and compositing software that offers advanced keying tools, colour grading, and audio editing. It can handle complex compositing tasks and supports 3D rendering. While the full version is paid, the free version still includes some advanced tools and effects.
- OpenShot: OpenShot is a free, open-source video editing software that includes basic compositing and visual effects tools. While not as advanced as the other options, it is user-friendly and easy to learn.
- HitFilm Pro: HitFilm Pro is an all-in-one editing and compositing software that offers advanced keying tools and supports 3D compositing. It also includes a wide range of visual effects and presets. There is also HitFilm Express, a free version of the HitFilm Pro software that doesn't come with as many effects to choose from.
FAQ
Why is green the preferred color for a green screen?
Green is used because it contrasts well with most human skin tones and clothing. It’s also a color that is rarely found in costumes, making it easier to isolate and replace in post-production. Blue is sometimes used as an alternative, especially in certain lighting or environmental conditions.
Can I wear green while using a green screen?
No, wearing green or any color similar to the green screen will cause parts of your body to disappear in post-production. The software will mistakenly remove anything green from the shot, including clothing or props.
What is “green spill” and how can I avoid it?
Green spill occurs when green light from the screen reflects onto the subject, creating a greenish hue. To avoid it, keep the subject away from the screen, and use proper lighting techniques. You can also adjust green spill in post-production using editing software tools.
Can I film green screen footage outdoors?
Filming with a green screen outdoors can be challenging due to lighting and wind conditions, but it’s possible with careful planning. Avoid filming in green environments (e.g., grassy fields) and ensure that the green screen is evenly lit, even in natural light.
Final thoughts
To effectively use a green screen, ensure you start with the proper camera and lighting setup to eliminate unwanted shadows and reflections. Use appropriate clothing and makeup, and maintain distance between subjects and the green screen. With practice and attention to detail, you can master the art of green screen compositing and unlock a world of creative possibilities in your video and film projects.
If you need to hire a green screen studio in London, Tutti can help! Browse our range of London green screen studios.
Discover amazing locations to film music videos
Choose from 1000+ spaces and locations on Tutti and deal directly with space hosts for a quick, hassle-free booking process.


