Nowadays if you want to start a photography business, it’s not simply an advantage to have a business website, it’s essential. The great news is it has never been easier to build your own amazing photography website because you don’t need any technical coding skills.
Not sure where you should start? We've put together this guide to help you through the process of creating a photography website, from picking a website builder to coming up with the layout and content as well as tips for drawing visitors to your site.
Contents
- What's your goal for your photography website?
- Choose your website builder
- Design your website layout
- Create your website content
- Homepage
- Navigation menu
- Gallery
- About
- Contact
- Optional extras
- Blog
- Services page
- FAQs
- Client testimonials
- Tips for improving your website's SEO
- FAQs
What’s your goal for your photography website?

This is a vital question to ask yourself before launching into building your website, and the answer will depend on your level of experience and the type of services you offer. If you are just starting out, maybe you only want a simple website for now with a focus on your portfolio gallery so you can share your work with new contacts and potential clients.
If you want to sell your art online through your website, then you'll choose a website builder with e-commerce capability. Try to narrow down the specifics, for example, do you want to sell physical products or digital downloads? Then you can check the website builder has the functionality you need before paying for it.
If you want to get more photography clients through your website then you’ll want to optimise your website for SEO and set up a blog for publishing regular articles to help drive traffic to your site.
Choose your website builder

A website builder is a tool that allows you to build a photography website with no coding experience. They are designed to be extremely user-friendly, if you are comfortable browsing the internet then you will have no trouble navigating one.
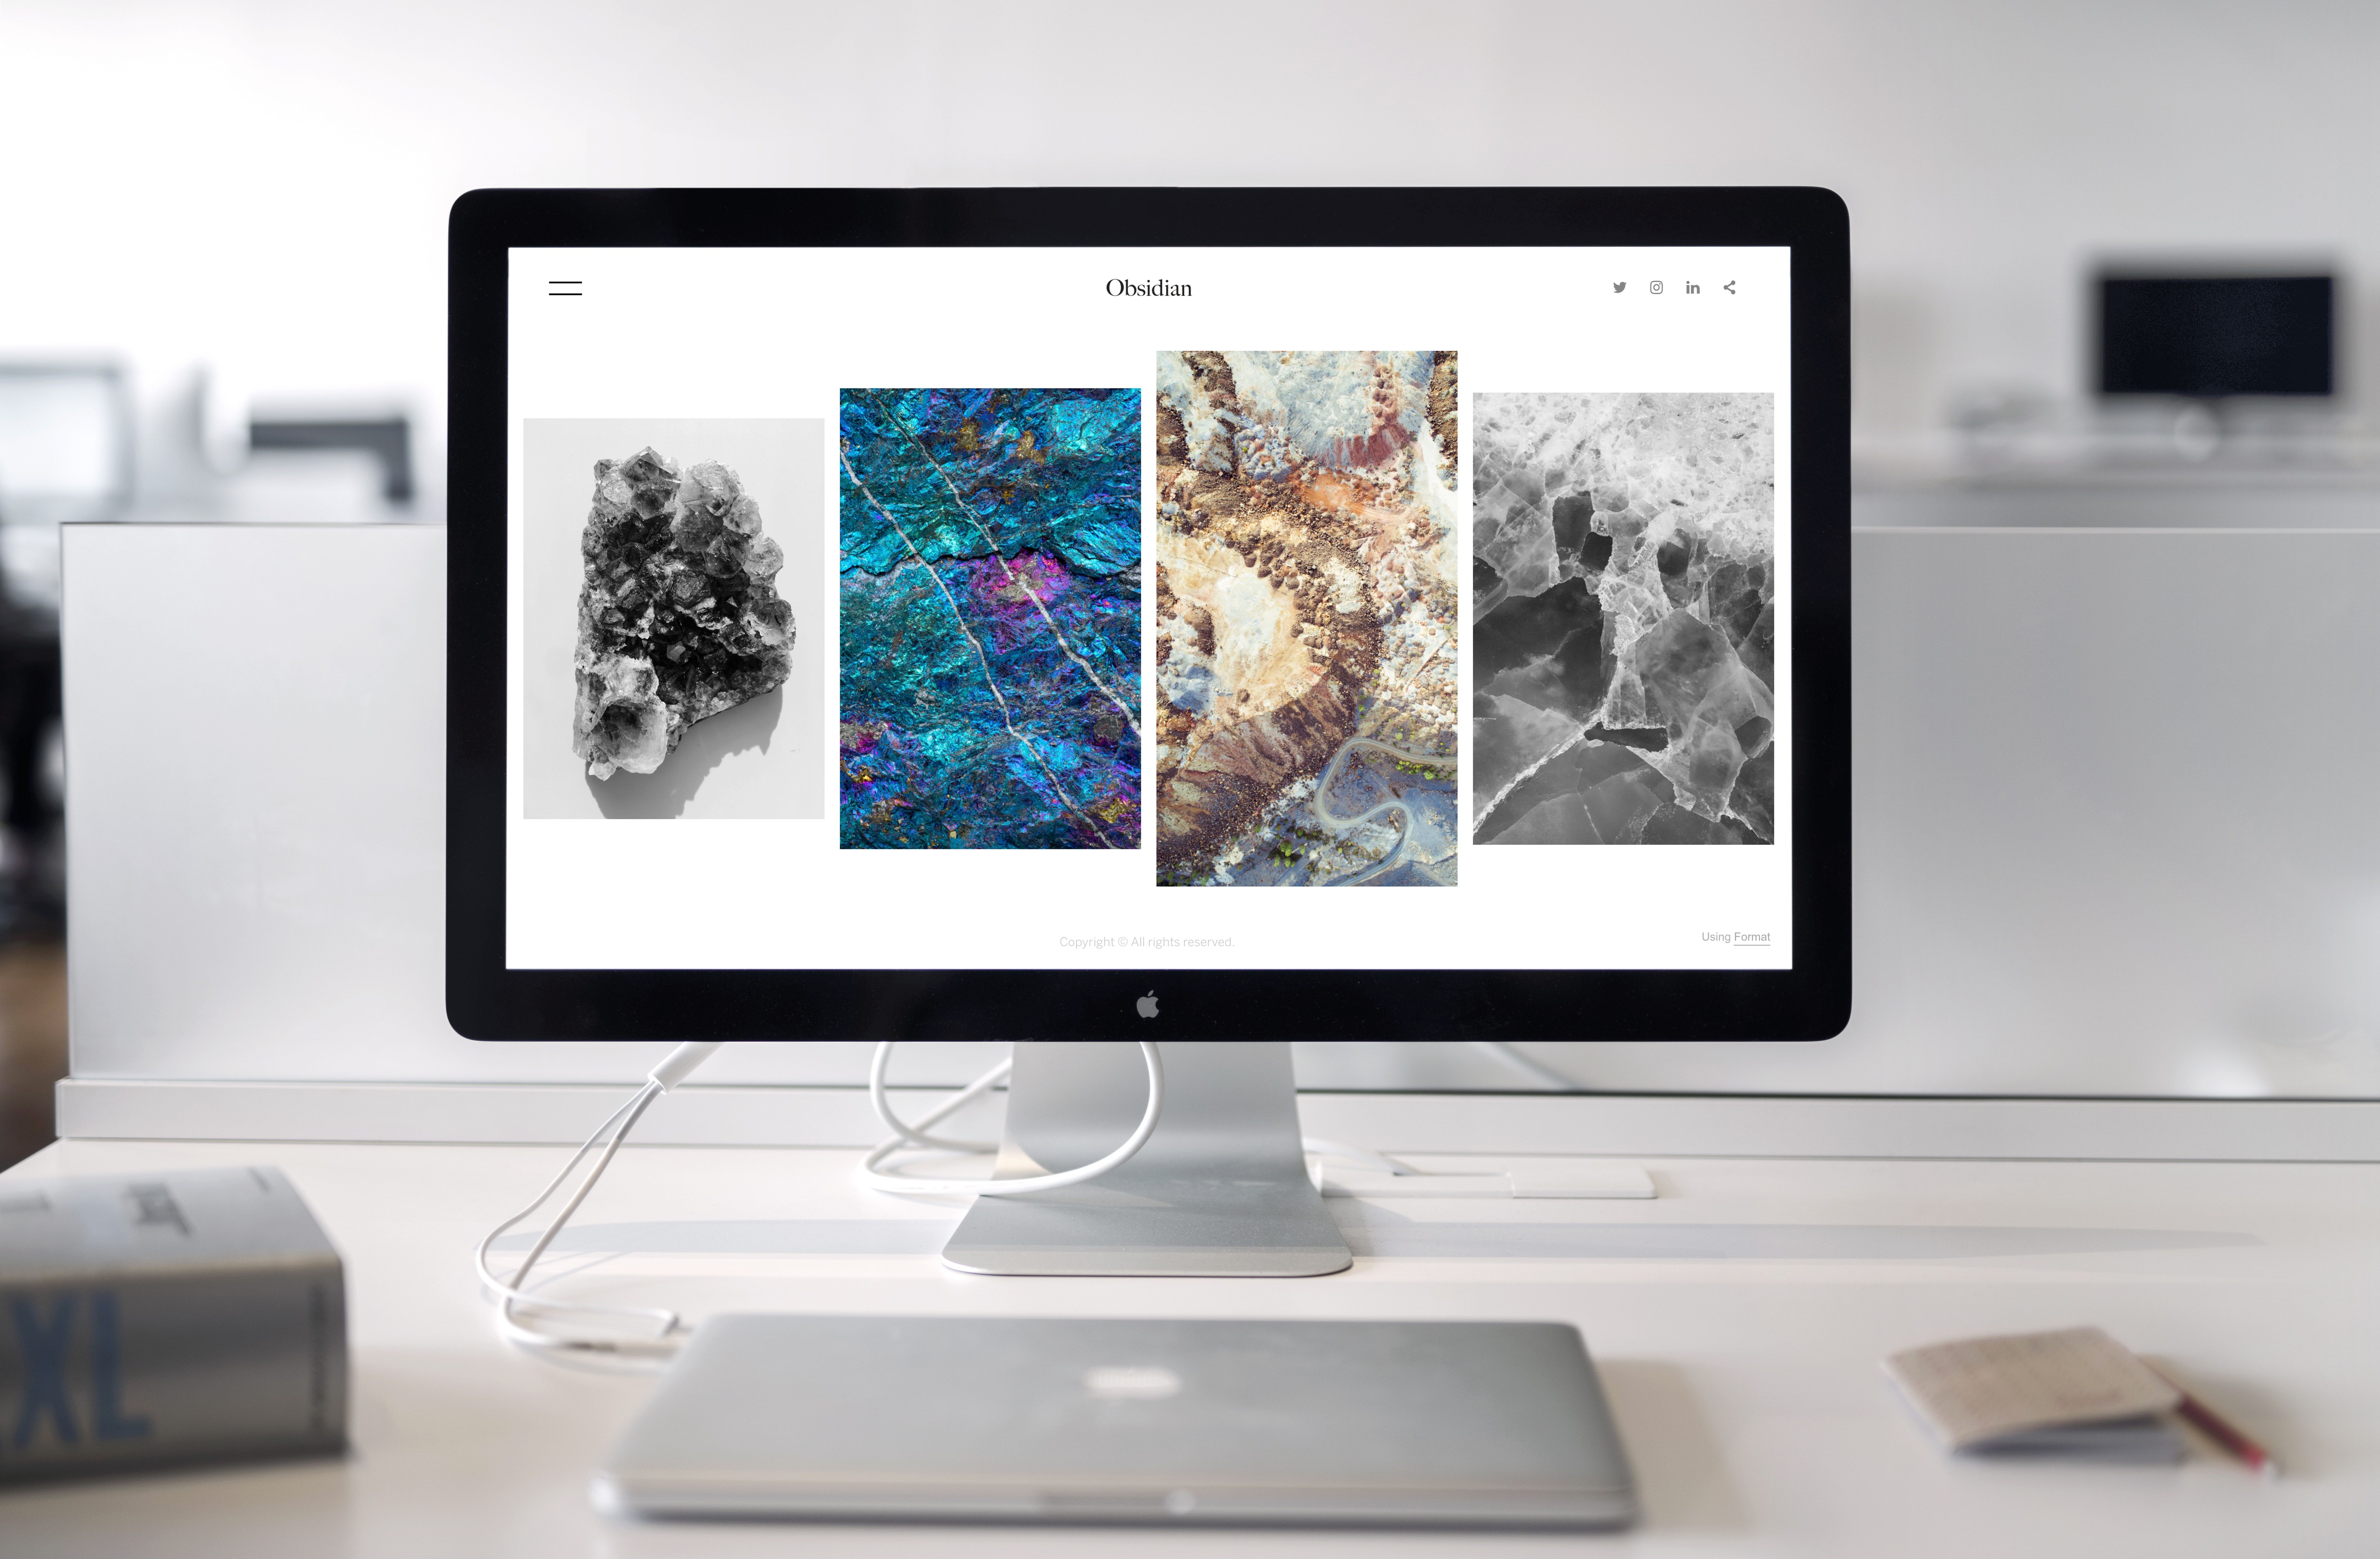
The process starts with choosing a website template - there will be a few to choose from and they are generally organised into industry categories, with specific photography website templates available.
From there you can edit and personalise your template with different colour schemes and fonts, plus add images and text and additional pages. When editing pages you can drag and drop images and text boxes, similar to Microsoft Powerpoint.
Most website builders use a monthly prescription model and offer a discount for paying annually. Subscriptions are generally divided into personal and business plans with personal plans ranging from £3 - £10 per month and premium and business plans starting at £18 per month.
For some businesses with complex demands, a website builder might not provide enough customisation, but they generally have everything you could need to build a photography website. A website builder allows you to upload new content quickly and easily on your own, you can add contact forms, and you can integrate your social media all in a few clicks.
These are currently the 3 most popular website builders for photographers:
- Squarespace - has the most visually attractive templates.
- Wix - Is great for beginners on a budget because you can start with a basic free version.
- Format - Is specifically designed for photographers so includes features like password protected albums for clients and watermarking.
Design your website layout
Photographers will often display different types of photography on their websites, which is fine as long as they are clearly separated and easy to navigate between. For example, you could create multiple galleries - one for portraits, one for weddings, one for editorial work etc.
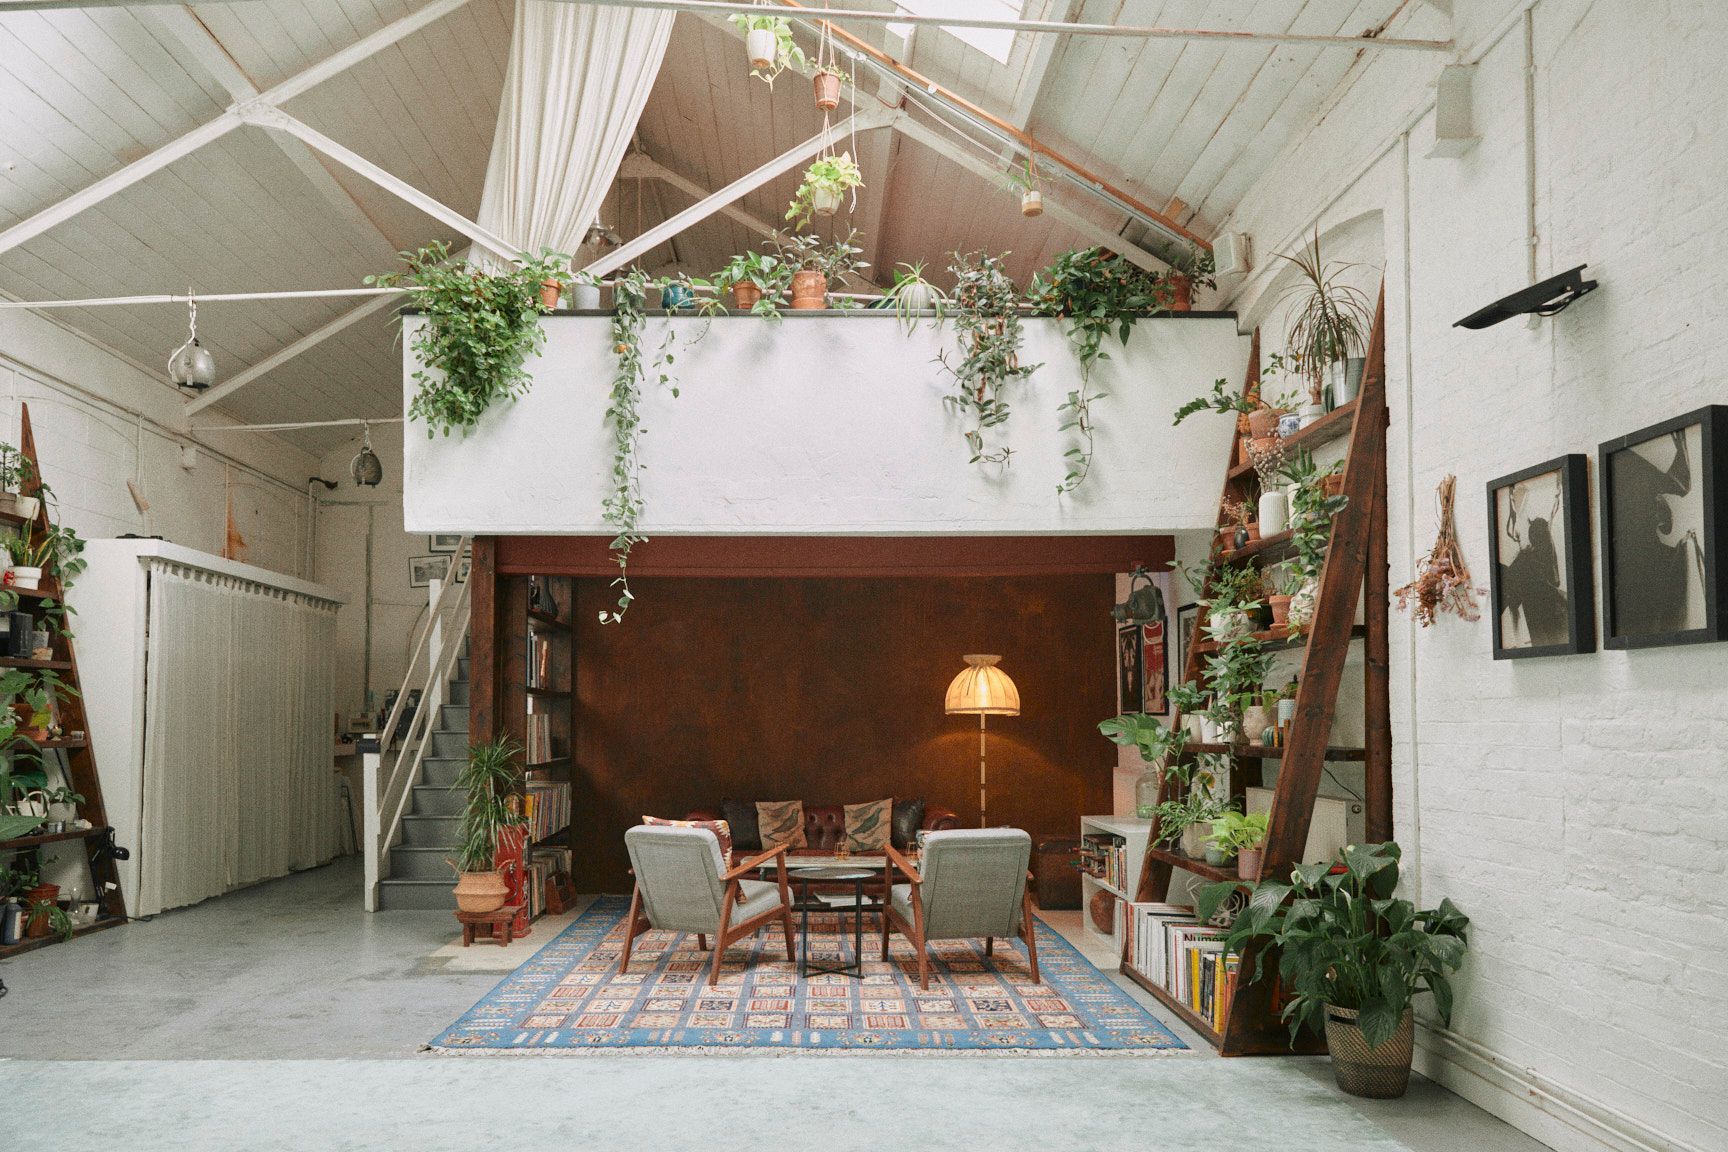
Even if you are planning to build your photography website yourself, it’s helpful to browse website templates like these ones from Wix, to give you inspiration for your website’s layout. You’ll notice some gallery layouts, like a grid view, work best when you want to show off an entire portfolio at once, while a slideshow works well for viewing individual photos in a project. You can also see which colour schemes catch your eye. Often photographers use a minimal amount of colour and opt for simple black or white backdrops so their images stand out, but it is also a good idea to align your website with your business branding if you already have a logo, business cards etc.
Looking for fashion shoot locations in London?
Choose from 1000+ spaces and locations on Tutti and deal directly with space hosts for a quick, hassle-free booking process.

Create your website content
Let’s take a look at the essential sections you need to create a photography website and how to optimise them.
Homepage
The biggest mistake professional photographers make is to not write any text on their homepage. While displaying a beautiful image on your homepage is striking, it doesn't provide enough information. A visitor to your website wants to know who you are, what you do and how you can help them.
Help your website visitors find you on other platforms too by adding social media buttons. Try adding these in multiple places including the header and footer of each page.
You can communicate this instantly by clearly displaying your logo along with your name, your location (if you mainly shoot in one place), and your expertise. An easy way to get this across is with a simple headline, think 3-8 words explaining who you are, what you do and where you are located. For example, “Pat Smith - Award winning London event photographer”. It's important this information appears near the top of the screen where it can be seen instantly on a visitor’s browser because they're more likely to click off the page than to scroll down in search for it.
Having a simple call to action below the headline encourages visitors to continue browsing your website. This is the next step you're guiding them to take after arriving at your home page - maybe to book a consultation with you, browse your portfolio gallery, or find out more about you. The call to action will be in the form of a button they can click and describes the action you want them to take, for example, ‘View gallery’, ‘Book now’, or ‘Learn more’.
Navigation Menu

You’ll also need a navigation menu so visitors can clearly find the content they are looking for on your website. The navigation bar is often horizontal and found in the header of the website. Of course you can use a vertical style, but thanks to how common horizontal menus are, they are the most instinctual to people. It’s a good idea to freeze the header, which means when a visitor scrolls down the page, the menu is always visible for easy access. Each label should clearly explain to the visitor what they will find on that page, so we don't recommend reinventing the wheel. Use straightforward labels that are common to internet users, like ‘Contact’, ‘About Me’, and ‘Blog’.
Gallery

It’s great to keep your photography portfolio regularly updated as your skills and experience progress, but you don’t want to upload photos from every single shoot you do. Your website isn't the same as a social media feed, instead think of your portfolio as a highlight reel of your very best work that you feel represents your style. Portfolios should focus on quality over quantity every time.
About
The ‘About’ page is one of the most visited pages on a website, so you won’t want to skip it! That’s because visitors want to know more about you and build up trust before hiring you, plus they want to find out what makes you different from every other photographer in your niche.
Less is more when it comes to writing this section. Speak in first person (I) to make it more personal, and put visitors at ease by using a conversational tone. Start with a clear headline, such as “Meet Pat Smith” and remember to keep the focus on what you can do for your client, rather than giving them a run down of your personal history. Some good questions to ask yourself when writing your bio are:
- What made you get into photography?
- What attracted you to your niche?
- How does your personality and/or experience outside of photography make you a better photographer?
- How do you like to work?
- What are your favourite types of images to shoot?
Definitely include a friendly and professional photo of yourself - this is another opportunity to show off your photography skills. There’s also a great opportunity here to add another call to action button at the bottom of your text, such as ‘Book a free consultation’ or ‘View my work’.
Contact
There are a couple of ways to ensure potential clients can get in contact with you through your website. The footer of each page is an underutilised space and is perfect to include your contact information. We also recommend having a dedicated contact page accessible in the navigation menu so visitors can’t miss this vital information.
Embedding a contact form into your contact page is a smart idea because it makes contacting you even easier - your visitors can send you a message directly from your website. You can customise your contact form which means you can decide what information a visitor is required to fill out to send an inquiry. You could require as little as their first name and email address so you can get back to them, or you may ask for more detailed information about the type of shoot. You can also include optional fields in the contact form like a comments section. It's also good practice to give them a timeframe you'll get back to them in.
Optional Extras

Blog
If one of your main goals for your website is to grow your photography business, then you’ll need to draw new clients in with valuable content. That’s where a photography blog comes in. A blog is beneficial in two ways. Firstly, you are regularly updating your website, which tells Google and other search engines your website is up to date and relevant. Secondly, your blog posts can utilise keywords that your ideal client is searching for on the internet.
So when you’re thinking of blog post ideas, brainstorm problems or questions your potential clients are likely to be seeking answers to. For example, if you are a wedding photographer in London, your ideal client might be interested in searching "outdoor wedding venues in London". Therefore you could write a blog post about the outdoor venues you have worked at and include photos you took at these weddings.
Services page
If you provide multiple services like photography and videography, or perhaps you sell different service packages, then a services page will give your visitors more clarity on your business. You can choose whether to include prices or not, and it can be difficult to do if your prices aren't set. One solution is to providing an indication of starting price as a helpful guideline for your visitors.
See our essential guide to setting your videography pricing for more advice.
FAQs

If you find a lot of website visitors reach out to you with similar questions, then it will save both you and them a lot of time by answering these questions in an FAQ section on your website. It can also help overcome clients’ pre-purchasing fears and objections.
Your FAQs could cover topics like your services, payments and deposits, cancellation policy, and turnaround time. Make sure to keep the answers short and to the point so visitors can get the answers they need easily.
Client Testimonials

It takes a little extra work to reach out to clients to ask if they can provide written comments on how they enjoyed working with you, but you will reap big rewards when you post these testimonials on your website. According to BigCommerce, 88% of consumers trust online testimonials and reviews as much as recommendations from friends or family. This way your happy clients are doing the selling for you.
Online Store
If you’re thinking about selling your products in the future then it pays to do your research and find a website builder with e-commerce functionality. Look for a platform offering a straightforward checkout process, simple order management and flexible shipping options. The three website builders we mentioned - Squarespace, Wix and Format all have online store platforms. Learn how to shoot and edit great e-commerce photos with our guide.
Tips for improving your website’s SEO
When you build a photography website you rely heavily on visuals, but unfortunately, search engines can’t "see" images, so follow these tips to ensure your website is visible to search engines and can bring you more search traffic.

- You have the option to add short descriptions to each image, known as ‘alt text’ so that search engines can understand what the image is about. These descriptions won’t be shown on the website, but they will help your pictures to be found more easily in image search results.
- Ensure your website is mobile-friendly. This means it automatically reformats to look great on a smartphone screen. In addition to being more user-friendly for visitors, search engines prioritise mobile-responsive websites on their results pages. The website builders we mentioned above have this feature built in.
- Incorporate keywords into your website copy that you want to rank for in search engine results. For example, “portrait photography east London”. But keep your website sounding natural and don't overuse them. When your website ranks highly for a location-based query it increases your chance of being featured as one of the top 3 local business search results at the top of the page.
- Minimise your image file size to decrease your website’s load time. If your page load time is slow it will affect both user experience and SEO. You can use online tools like Compressor.io to compress your images without compromising their quality.
FAQs
Why do I need a photography website?
A photography website serves as your professional portfolio, helps attract clients, and showcases your work to a wider audience. It’s essential for establishing credibility and allowing potential clients to view your style and services. We've gathered these photography portfolios for inspiration.
What are the key elements of a good photography website?
A strong photography website should include a visually appealing portfolio, an "About" section, contact information, client testimonials, and details about your services. Easy navigation, mobile-friendliness, and fast load times are also crucial.
How can I make my website mobile-friendly?
Most modern website builders offer responsive design templates that automatically adjust to different screen sizes. Ensure your website looks and functions well on smartphones and tablets, as many users will visit from mobile devices.
Do I need a blog on my photography website?
A blog can help with SEO and provide additional value to your visitors. You can share behind-the-scenes stories, photography tips, or experiences from recent shoots, which can help you connect with potential clients.
How should I structure the navigation on my photography website?
Keep the navigation simple and intuitive. Common sections include "Home," "Portfolio," "About," "Services," "Blog," and "Contact." Make sure visitors can find what they need with minimal clicks.
Can I sell prints or digital downloads on my photography website?
Yes, you can integrate e-commerce platforms like Shopify or WooCommerce, or use tools like Pixieset or SmugMug to sell prints and digital downloads directly from your website.
Final thoughts
Before you hit publish, review your website in varying screen sizes including mobile format to check for formatting errors and design inconsistencies. Then review your text to check all your links work, proofread your entire site, and then ask someone else to proofread it too so you can be sure there are no typos.
After all, your photography website represents you and your business, therefore it needs to sell you as a photographer who is professional, organised, easy to work with and welcoming. And if you've followed the tips in this guide then your website will definitely do this for you.
Hire locations for your next photoshoot with Tutti
Tell us what you're looking for, and we'll send you suggestions within 72 hours. For free!