If you’re looking to take your videography skills to the next level, low light video shooting is one aspect that you simply can’t ignore. Whether you’re shooting a spooky horror film at night or capturing music video footage in a dimly lit film studio, shooting in low light can push your skills and creativity to the limits.
However, low light videography comes with its own set of challenges and requires a different approach to traditional filming. In this article, we’ll teach you everything you need to know to shoot video in low light successfully.
Contents:
- Understanding low light videography
- Choosing the right video camera and lens
- Camera settings for low light videography
- Lighting techniques for low light video
- FAQs
- Wrapping up
Understanding low light videography
The first step to mastering low light shooting is to understand the unique challenges it poses. When you shoot in low light, your camera’s exposure settings must be adjusted to allow enough light into the lens for a well-exposed image. However, this can lead to issues such as noise, grain, and blurriness.
Challenges of low light shooting
The biggest challenge when shooting in low light is that there simply isn’t enough light for the camera to capture a well-exposed image. This can result in a noisy image with poor colour accuracy. Additionally, the lack of light can make autofocus and image stabilisation more difficult, leading to shaky and blurry footage. If you want to read up on film and video lighting more generally, we've got you covered.
One way to combat the lack of light is to use a faster lens, such as a prime lens with a low F-stop. This allows more light into the lens, resulting in a brighter image with less noise. However, faster lenses can be expensive and may not be suitable for all shooting situations.

Another option is to use artificial lighting, such as a portable LED light or a studio light. This can help to create a more evenly lit scene, reducing the contrast between bright and dark areas. However, it’s important to be careful when using artificial lighting, as it can create harsh shadows and affect the natural look of the scene.
Importance of proper exposure
Proper exposure is key when shooting in low light. It’s important to adjust your camera’s settings to let in enough light for a well-exposed image, while still maintaining accurate colours and minimal noise. Finding the right balance can take practice and experimentation, but it’s crucial for successful low light videography.
One technique for achieving proper exposure in low light is to use manual mode. This allows you to control the aperture, shutter speed, and ISO, giving you complete control over the exposure. However, it can be challenging to find the right settings, especially if the lighting conditions are constantly changing.
Another option is to use automatic mode, which can adjust the exposure settings for you. However, this can result in inconsistent results, as the camera may not always make the best decisions for the scene.
Ultimately, the key to successful low light videography is to practice and experiment with different techniques and settings. With time and experience, you’ll be able to capture stunning footage in even the darkest of environments.
Choosing the right video camera and lens
The gear you use can have a significant impact on the quality of your low light footage. When choosing a camera for low light shooting, there are several key factors to consider. Typically, cinematic and cine lenses will offer you the greatest range of settings and abilities.
Camera sensor size and low light performance
The size of your camera’s sensor plays a significant role in its low light performance. Generally, larger sensors can capture more light and produce better low light images. Full-frame sensors are often used for professional videography, but crop sensors can still deliver great results in the right lighting conditions.
It's important to note that the size of the sensor isn't the only factor that affects low light performance. The quality of the sensor and the camera's image processing capabilities also play a significant role. Some cameras with smaller sensors can still produce great low light footage thanks to advanced image processing algorithms.

Lens aperture and low light shooting
The aperture of your lens also plays a crucial role in low light videography. A wider aperture (lower F-stop number) allows more light to enter the lens, making it easier to capture well-exposed images in low light conditions. Prime lenses with fixed apertures are often used for low light videography due to their wider apertures.
It's worth noting that the aperture isn't the only factor that affects the amount of light that enters the lens. The distance between the lens and the subject also plays a role, as well as the amount of ambient light in the scene. In some cases, adding additional lighting can help improve the quality of your low light footage.
Image stabilisation features
Image stabilisation is an important feature to consider for low light shooting, as it can help reduce camera shake and ensure sharper footage. Look for cameras and lenses with built-in stabilisation features, or consider using a tripod or stabiliser to keep your shots steady.
It's important to note that image stabilisation can sometimes come at the cost of image quality. Some cameras and lenses use digital stabilisation techniques that can introduce artefacts or reduce image sharpness. In some cases, it may be better to use a physical stabilisation device like a gimbal or steadicam to ensure the best possible footage.
Choosing the right camera and lens for low light videography requires careful consideration of several key factors. By selecting a camera with a large sensor, a lens with a wide aperture, and built-in image stabilisation features, you can capture stunning low light footage that will impress your audience.
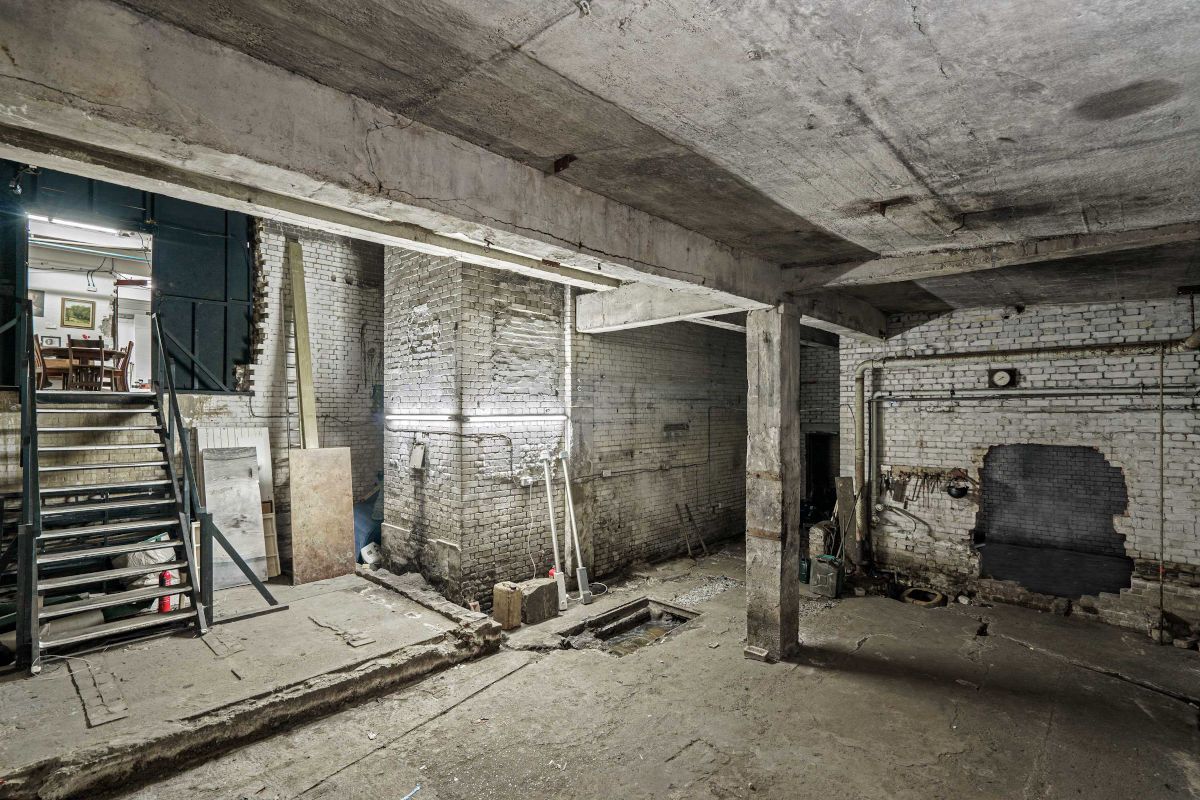
Find film and video studios with Tutti
Choose from 1000+ spaces and locations on Tutti and deal directly with space hosts for a quick, hassle-free booking process.
Camera settings for low light videography
Once you have the right gear, it’s important to understand how to adjust your camera settings for low light shooting. Shooting in low light conditions can be challenging, but it can also create some of the most stunning and dramatic footage.
When shooting in low light conditions, it’s important to remember that the camera’s sensor needs to be able to capture as much light as possible. This means that you’ll need to adjust your camera settings to allow more light into the sensor.
Adjusting ISO for low light conditions
ISO determines how sensitive your camera is to light, and it can be a powerful tool for low light videography. A higher ISO means that your camera will be more sensitive to light, allowing you to shoot in darker conditions. However, increasing the ISO too much can result in a noisy image. It’s important to experiment with different ISO levels to find the balance between a well-exposed image and minimal noise.

Another option is to use a camera that has a larger sensor, as this will allow more light to enter the camera and result in a better image quality.
Balancing shutter speed and frame rate
Shutter speed and frame rate are two key camera settings that affect the look and feel of your footage, particularly in low light conditions. A slower shutter speed (e.g. 1/50) paired with a lower frame rate (e.g. 24fps) can help let in more light, but can also result in motion blur. On the other hand, a faster shutter speed (e.g. 1/125) paired with a higher frame rate (e.g. 60fps) can result in a sharper image, but may not let in enough light.
Experimenting with different combinations of shutter speed and frame rate can help you find the right balance for your project. It’s important to keep in mind the type of footage you’re shooting and the look you want to achieve.
Utilising white balance for accurate colours
White balance is another setting that’s crucial for accurate colours in low light shooting. When there isn’t enough light, colours can appear distorted or off-balance, making it important to adjust your camera’s white balance settings to ensure accurate colour representation. It’s important to remember that different light sources have different colour temperatures, which can affect the colours in your footage.

Some cameras have an automatic white balance setting, which can be useful in low light conditions. However, it’s always best to manually adjust the white balance to ensure accurate colours.
Overall, shooting in low light conditions requires a bit of experimentation and practice to get the settings right. With the right gear and camera settings, you can create stunning and dramatic footage that will captivate your audience.
Lighting techniques for low light video
When it comes to low light videography, lighting plays a crucial role in capturing well-exposed footage. However, there are many other factors that can affect the quality of your video in low light conditions. These include the type of camera you are using, the sensitivity of your camera’s sensor, and the type of lens you are using.
It is important to keep in mind that low light videography can be challenging, but it can also be incredibly rewarding. With the right techniques and filming equipment, you can create stunning footage that captures the mood and atmosphere of your environment.
Using available light sources
The simplest lighting technique for low light videography is to use available light sources. This could be natural light or ambient lighting in your environment. However, it is important to keep in mind that not all available light sources are created equal.

For example, natural light can be a great option for low light videography, but it can also be unpredictable. Cloud cover, time of day, and weather conditions can all affect the quality and quantity of natural light available.
Ambient lighting, on the other hand, can be more consistent and controllable. Look for light sources that are bright and evenly distributed to minimise harsh shadows and uneven lighting (unless your aim is to create an effect through hard lighting techniques).
Portable lighting solutions
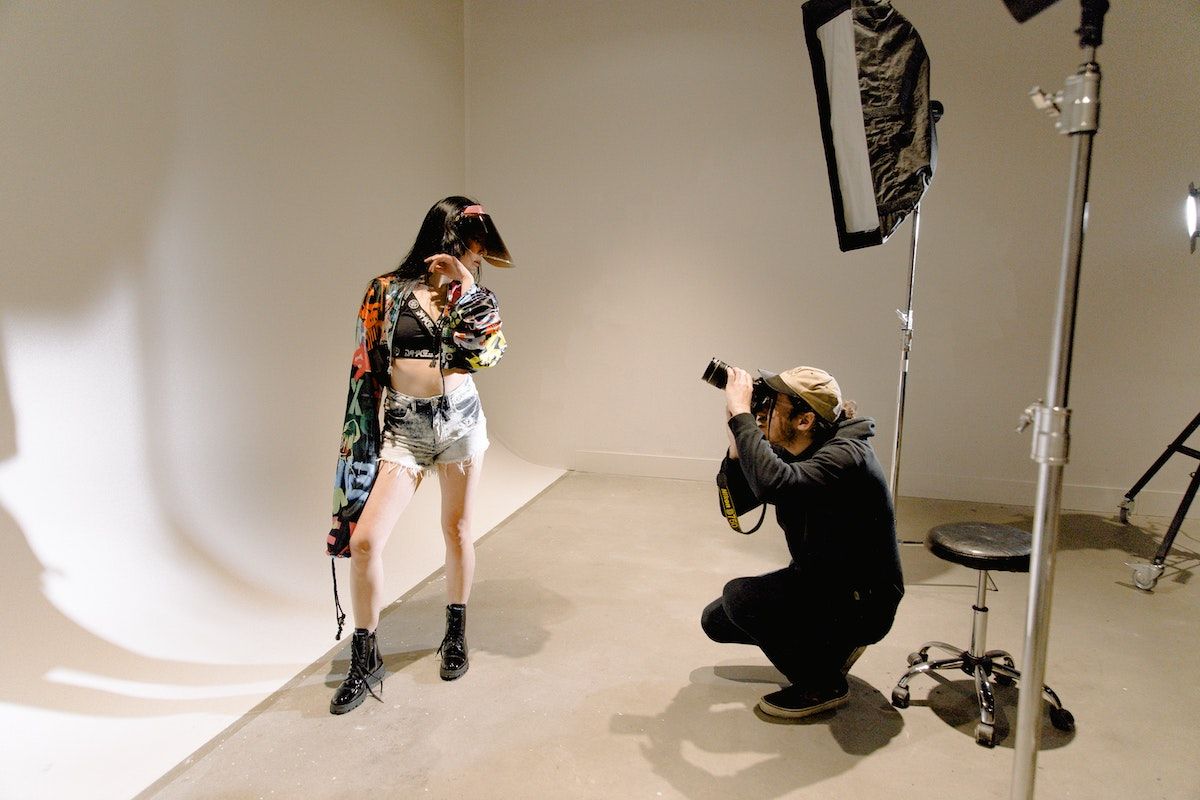
If available light isn’t sufficient, portable lighting solutions can be used to add additional illumination. LED lights and softboxes are popular options that can be easily transported and adjusted to provide the right amount of light for your scene.
When using portable lighting solutions, it is important to keep in mind the colour temperature of your lights. Different types of lighting can have different colour temperatures, which can affect the overall look and feel of your footage.

For example, tungsten lights have a warm, orange hue, while daylight-balanced lights have a cooler, blue hue. By choosing the right colour temperature for your scene, you can create a more natural and pleasing look for your footage.
You can also use the lack of light to your advantage, creating dramatic shots through the use of artificial lights with low-key lighting.
Creative lighting techniques
Finally, creative lighting techniques can be used to add interest and depth to your footage. This could be as simple as adding a coloured gel to your lighting equipment or using practical lights (e.g. lamps) to create a unique look.
When using creative lighting techniques, it is important to keep in mind the mood and atmosphere you are trying to create. Different colours and types of lighting can evoke different emotions and feelings in your audience.
For example, blue lighting can create a cool and calming atmosphere, while red lighting can create a sense of urgency or danger. By experimenting with different lighting techniques, you can create a unique and memorable look for your footage.

Brand highlight: GVM
There are a number of great companies on the market dedicated to bringing innovative lighting solutions to content creators and professional videographers across the globe, and GVM is certainly one of them.
From full-colour RGB wand lights to on-camera LED bulb lights, GVM provide affordable yet professional cinema equipment with the quality and functions needed to fully realise any creative vision. Whether you're trying to bring a dark room to life with natural studio lighting, or you want to craft vibrant accents for a dramatic, edgy effect, GVM has a range of adjustable solutions.
So, if you're looking to experiment with different creative atmospheres, check out how GVM's products can help you take hold of low-light environments and create cinema-level videos for your audience.
FAQs
Why is shooting video in low light challenging?
Low light makes it harder for cameras to capture clear and sharp footage, often resulting in noise, grain, or lack of detail. It also affects colour accuracy and can create issues with autofocus and exposure.
What is the best camera for shooting in low light?
Look for cameras with a large sensor, high ISO performance, and low-light capabilities. Full-frame cameras like the Sony A7S series, Canon EOS R series, or Panasonic GH5S are popular choices for low-light videography. To learn more, read our video camera buying guide.
What is ISO, and how does it affect low-light video?
ISO measures your camera's sensitivity to light. Increasing ISO can help brighten a scene in low light, but too high of an ISO can introduce noise or grain to your footage. Balancing ISO with other settings is crucial in low-light environments.
Should I use manual focus when shooting in low light?
Yes, manual focus is often more reliable in low light since autofocus systems can struggle to lock onto subjects when there isn’t enough contrast. Use focus peaking (if available) or zoom in digitally to ensure sharp focus.
How can I avoid grainy footage when shooting at night?
To avoid grain, keep your ISO as low as possible while still achieving proper exposure. Use a fast lens (with a wide aperture) and consider adding lighting to the scene. Then the editing process, use noise reduction tools to clean up grainy footage.
Can I use artificial lighting in low light environments?
Yes, bringing your own portable lighting, such as LED panels, ring lights, or on-camera lights, can help you shoot in low-light settings. These lights are often adjustable, allowing you to control brightness and colour temperature. You can also use reflectors to bounce light or position your subject close to available light (like streetlights or car headlights) to maximise its impact.
What are some common mistakes to avoid when shooting in low light?
Common mistakes include over-reliance on high ISO (resulting in noisy footage), shaky camera work due to slow shutter speeds without stabilisation (like a tripod), poor focus due to relying on autofocus, and using inadequate lighting or failing to optimise available light.
Wrapping up
By understanding the challenges of low light shooting, choosing the right gear, adjusting your camera settings, and utilising effective lighting techniques, you can create stunning footage even in the dimmest environments.
With practice and experimentation, low light videography can become a powerful tool in your videography toolkit. So, go ahead and experiment with different lighting techniques and video shoot locations create some amazing footage. Happy shooting!
Find film and video studios with Tutti
Choose from 1000+ spaces and locations on Tutti and deal directly with space hosts for a quick, hassle-free booking process.