Whether you have years of experience or are brand new to the art of photography, having a practical, yet efficient, outdoor photo studio set-up is sure to take your business to the next level. An outdoor portable photo studio offers the versatility to take photoshoots to any location with the ability to manipulate an abundance of photography backdrops to your advantage.
Planning your ideal toolkit ahead of time will allow you to strategize on what gear and workflow will work best for your specific goals. Consider the photography styles you want to explore, who your subjects will be, and how fast you are looking to expand your portfolio. If you’re wondering how to make a photography portfolio that stands out from the rest, or how to build a photography website that showcases your brilliant work, we've got some great tips just for you. Let’s dive in!
Contents:
1. The benefits of an outdoor photo studio set-up
2. Invest in durable, weatherproof equipment
3. Use natural light to your advantage
4. Manipulate natural light with the proper equipment
5. Consider weather conditions ahead of time
6. Experiment with various backdrop options
7. Utilize props and other photo-enhancing tools
8. Organize your equipment efficiently
9. Hire assistants if necessary
1. The benefits of an outdoor photo studio setup
Going from one photo session to the other, being a photographer requires proficient time management skills. An easily accessible and well-equipped outdoor portable photo studio offers the flexibility to take your business practically anywhere. This not only expands your business opportunities but also your ability to experiment with various photography styles to grow your portfolio. If getting photography clients is one of your main priorities, being able to offer a wide photography range is key.
In addition, having a well-equipped outdoor photo set-up negates the need for expensive studio rentals and other pricey fees that come alongside them. Instead, you’ll have access to endless photoshoot locations to better meet your client’s needs and expand your range. Although it may seem challenging at first, you’ll quickly learn to navigate the logistics of an outdoor photo studio and use them to your advantage. So, where to begin?

2. Invest in durable, weatherproof equipment
Your outdoor photo studio equipment must be functional and durable enough to travel with from one photo session to the other. Choosing the ideal camera should be a top priority, but there are also a few other essential tools that you’ll need to ensure every photography session runs smoothly. Every piece of equipment must have a purpose so before you make a purchase, take a moment to think about the tools that will help you accomplish your goals more efficiently. Consider these questions:
- What genre of photography will you be pursuing? Portrait? Family? Wedding?
- How many backdrop options are you planning to work with?
- Who will be your primary subject? People? Pets? Product?
- How much money have you budgeted for equipment?
Keep in mind that buying a lot of equipment at once can be expensive, therefore, it is best to set a budget ahead of time and stick with it. Prioritize your equipment from most important to least important and buy accordingly. It’s perfectly okay to start your outdoor photo studio set-up with a few tools and buy the remaining equipment on your wish list at a later time. Aside from efficient lighting equipment, backdrops, props, and accessories, which we will cover in-depth in the following sections, here are other important items to consider:
- Invest in a good quality camera: You don’t need to have multiple cameras to deliver a good photo. Investing in one reliable camera body that is compatible with various lens options is more than enough. Perform extensive research ahead of time for better selection.
- Put together an efficient lens kit: For starters, you might only need one or two good lenses depending on the type of photography you’ll be doing. Most cameras come with a basic lens kit, so start from there and add more lenses as needed.
- Invest in a Sturdy Tripod: Because you’ll be primarily working outdoors, investing in a sturdy tripod that can sustain heavy winds is ideal. For additional sturdiness, consider adding weights.
- Dependable editing software and equipment: When travelling, you’ll likely need to edit images on the go. Invest in a reliable laptop equipped with the professional photo editing software of your choice and plenty of storage. For additional storage, keep one or two external hard drives at hand.
To avoid unwanted interruptions, make it routine to carry a few extra camera batteries and memory cards in case they run out in the middle of a shoot. As a photographer, thinking ahead of time needs to become second nature.

3. Use natural light to your advantage
There’s nothing more authentic than natural light photography. Efficient lighting is the foundation of good photography, and perhaps the most important element that determines the quality of a photo. Lighting can be stylistic too, allowing you to establish various moods and your own signature style that sets you apart from others in the industry. Learning to manipulate natural light to your advantage will also decrease your reliance on artificial lighting equipment and save you money in the long run.
For best results, schedule your photo sessions around sunrise and sunset hours when the sun is just below the horizon. This time of day, often referred to as “golden hour,” presents the ideal timeframe to capture a soft glow that best brings out skin tones and dynamic lighting elements. Not to mention the most awestriking displays of colour in the sky tend to happen around this time.
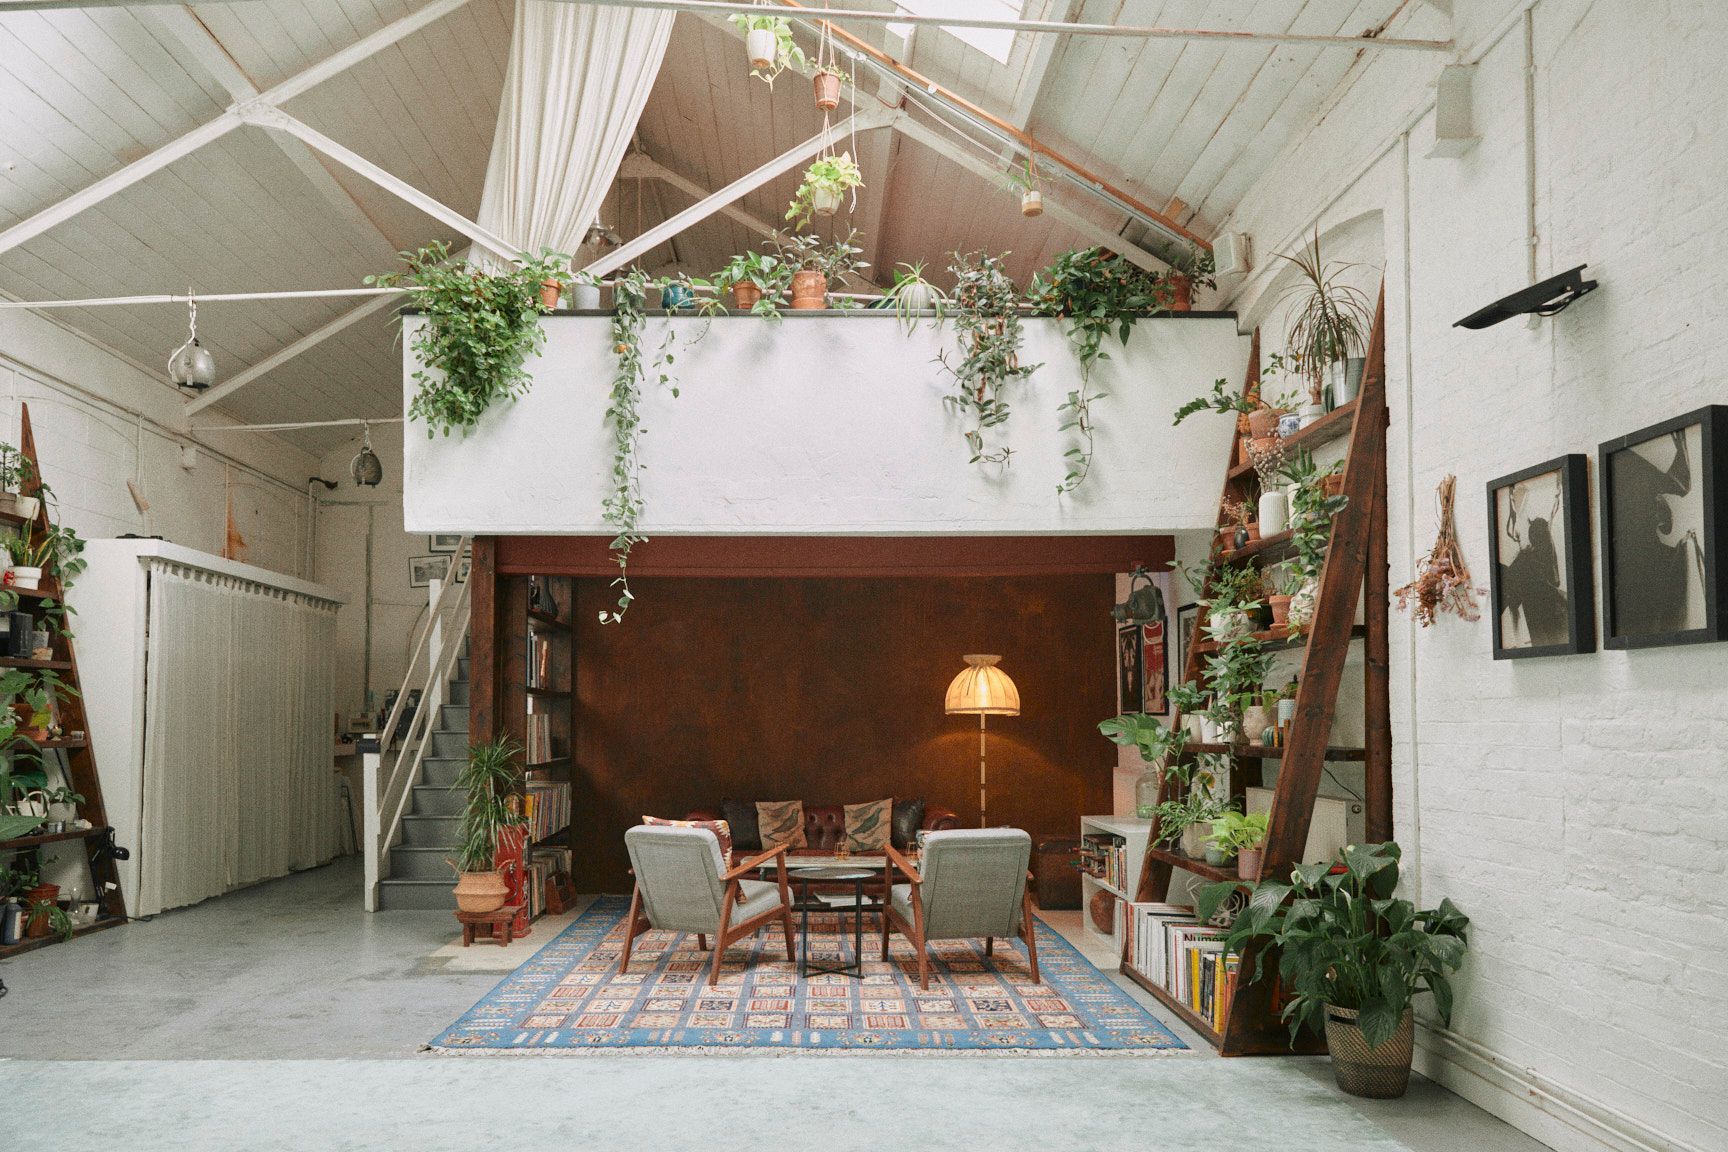
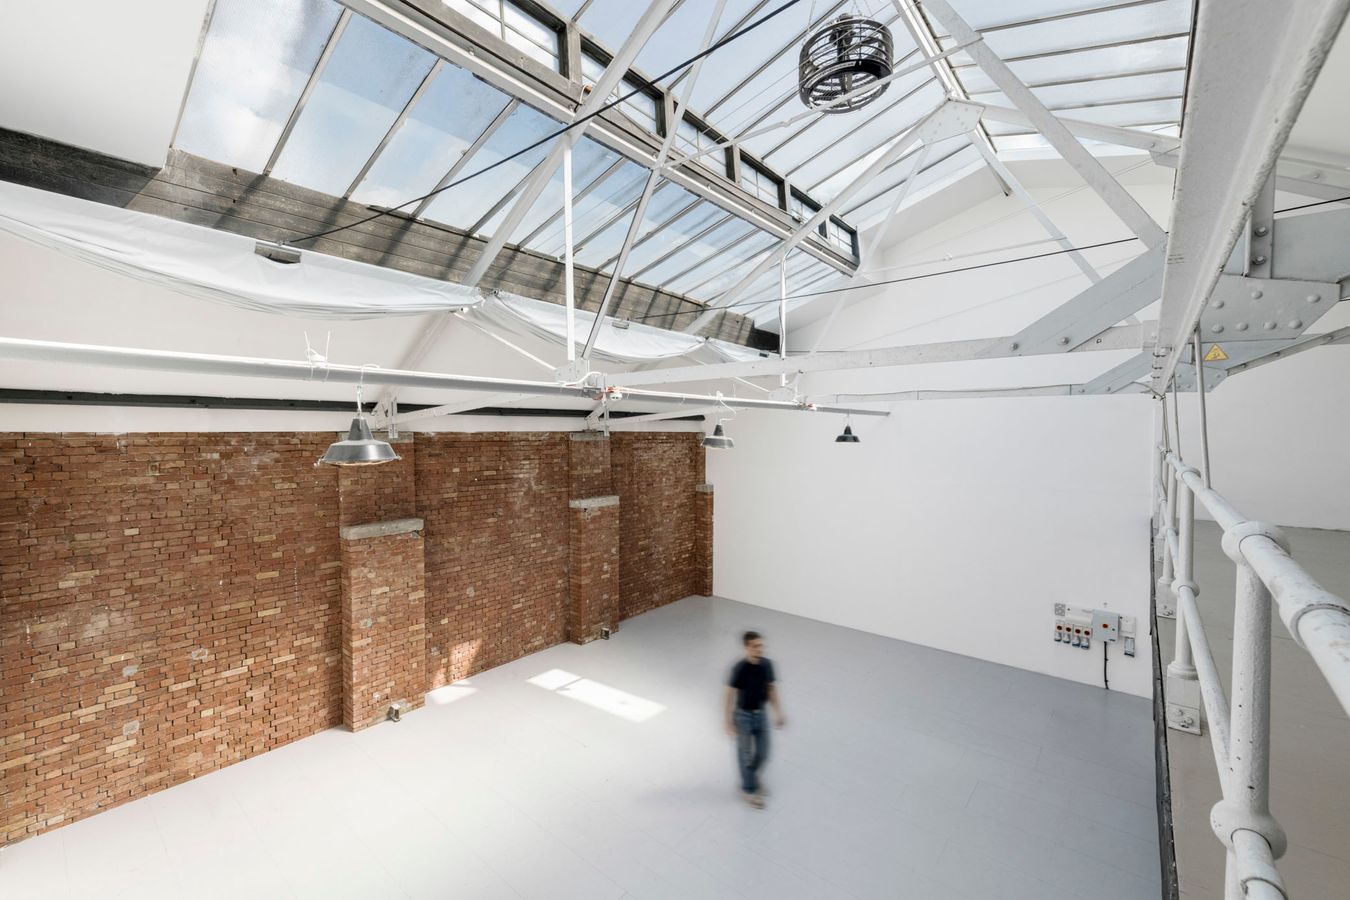
In the case of inclement weather, you can also captivate the magic of natural lighting indoors if necessary. Natural light studios offer the effect of outdoor lighting without the fuss, allowing you to utilize an indoor setting without losing the effect of natural light. If you’re looking for ideal locations to present to your customer base, consider this daylight studio London location guide to get you started.

Hire daylight studios for your next photoshoot
Choose from 1000+ spaces and locations on Tutti and deal directly with space hosts for a quick, hassle-free booking process.
4. Manipulate natural light with the proper equipment
Now that we’ve covered the benefits of natural light and how it can improve your photography, let’s take a look at the lighting equipment you may need to include in your outdoor photo studio set-up. Why would you need lighting equipment if natural light is already available? Unfortunately, there are downsides to shooting outdoors, and sometimes, working with natural light can be tricky. The following tools can be of help:
1. Reflectors: Light reflectors allow you to redirect light from a source and onto a subject. Reflectors are great for diminishing the effect of shadows and highlighting specific features of a subject or scene.
2. Umbrella lights: Although umbrella lights are best used to diffuse light indoors, they are also a great tool to have in outdoor settings with low light. Keep in mind that you will likely need access to an electric outlet to power an umbrella light.
3. Flash: Your camera’s flash is powerful enough to fill in the shadows cast by natural lighting. In addition, flash can also create cleaner and crispier photos depending on the time of day.
4. Natural light: Manipulate natural light to your advantage by playing with different angles and creative shadows like branches of a tree, cool flares, and silhouettes.
Moving your subject into open areas and away from shadows can also improve results. Ensure that your subject is facing the sun and not away from it as this can significantly darken your subject and result in an unflattering photo. Keep in mind that golden hour only gives you a short time window to take your photos before it no longer works. In this situation, time management is key! If you want to learn more about how to manipulate and fake natural lighting in photography, we've got you covered.

5. Consider weather conditions ahead of time
Shooting outdoors means learning to work with the elements. A day or two before your photography session, make it a practice to check the location’s weather forecast ahead of time and plan accordingly. There’s nothing worse than arriving at a location and cancelling last minute because of weather conditions. As a versatile photographer, you want to make sure you can adapt to any circumstance the weather may throw at you. Inclement weather is not always your enemy. You can turn a bad weather day to your advantage with a stylistic photoshoot in the rain or a fun family shoot in the snow.
Keeping the weather in mind ahead of time will also help you compile the proper tools to weatherproof your photography equipment. If you know you will be constantly working under harsh conditions, consider investing in a couple camera rain covers and a decent-sized lens hood. Some photographers even choose to weather-seal their camera bodies or buy waterproof cameras from the start. Another handy tool to have at hand is a good quality cleaning toolkit to clean your equipment immediately after a photo session. It’s important to ensure that your camera equipment is completely dry and clean from debris before going back into storage to prevent long-term damage.

6. Experiment with various backdrop options
One of the greatest benefits of having an outdoor photo studio set-up is the vast amounts of backdrops you’ll have access to. From sandy beaches and luscious forests to picturesque cities and famous architectural landmarks, the possibilities are endless. Check out this guide to the best places to photograph in London for some inspiration! Even a simple grey cement wall can be used as a backdrop to create a stylistic photo. Who knows? You might even get a few cool product photography ideas with unique outdoor backdrops.
Outdoor backdrops are also ideal for creating authentic, energetic photoshoot concepts by engaging your subject or subjects in an activity related to the overall theme. This will create a more memorable experience for your client and result in authentic, dynamic photos with a story to tell. For example, give traditional family portraits a twist by making them participate in a snowball fight, or take a casual beach day with a sandcastle building competition.
Although most clients will have a basic vision of what they might want their backdrop to be, some might appreciate your input as a photographer and allow your experience to be of influence. Regardless of the endless supply of backdrop options offered by the great outdoors, you should still consider adding a few conventional photography backdrops to your outdoor photo studio set-up for a more traditional approach. Some to consider that are easy to transport and store are collapsible and canvas backdrops.

7. Utilize props and other photo-enhancing tools
Another helpful benefit of shooting outdoors is that you likely won’t need to include many props in your outdoor photo studio set-up. The great outdoors offers a plethora of naturally existing props that you can use to create a more authentic effect in your photos, from flowers in spring to colourful tree leaves in autumn. Even Park benches and phone booths are outdoor elements that can act as a prop for your subject to engage with. Sometimes props can also act as a distraction for clients who are uncomfortable in front of the camera.
However, don’t shy away from bringing your own props to enhance a photo session if necessary. Additionally, you can ask your clients to bring their own props to the photo shoot to help bring their vision to life. At the end of the day, props are storytelling devices that add additional context and interest. Be careful not to utilise too many props that can make a scene look cluttered or take the attention away from your subject. Other accessories you can add to your outdoor photo studio kit to enhance your photos are:
- Smoke bombs: Available in various colour options, smoke bombs can add significant drama to a photo, especially portraits and stylistic images. Additionally, they are often inexpensive and practical enough to carry in your toolkit.
- Confetti: Turn an ordinary photo session into a celebration! Confetti is a fun prop to utilize for birthday-themed photoshoots and other celebratory occasions.
- Coloured lights: Similar to smoke bombs, coloured lights add a dramatic touch to any photo, especially when shot under low light. Keep in mind that these may take up more space in your toolkit and can sometimes be quite pricey.

8. Organize your equipment efficiently
Carrying photography equipment from one location to another can quickly become a hassle. Without proper organization, equipment tends to get lost in clutter, making photo sessions stressful and inefficient. Having a dedicated space for each piece of equipment will also make setting up and packing up a lot easier, especially during days with back-to-back photoshoots. Preferably, being able to store your entire outdoor photo studio set-up in as few bags/cases as possible is best.
Invest in sturdy, weatherproof storage cases that will protect your equipment from damage. This includes cushioning during transportation and proper seals that prevent water and dirt from filtering in. Backpacks with compartments make for ideal photo equipment storage too. Small items and cables are best kept in zipper bags to avoid getting lost.

9. Hire assistants if necessary
As a busy photographer, managing multiple photoshoots in a day and transporting equipment from one location to the next can be extremely overwhelming. Although ensuring that your portable outdoor studio contains the highest quality equipment is important, keep in mind that the photographer must also be in a good place to function. Don’t spread yourself too thin by thinking you can do everything on your own.
Once in a while, it might be beneficial to hire a part-time assistant to accompany you to photoshoots that may require a few extra hands. From all-day events like weddings to family sessions that require managing more than one person, one extra person, or more, will be able to ensure things run smoothly while decreasing any stressors that may affect your performance. Not to mention having an extra hand for setting up and packing up will save time and allow you to squeeze in a few more sessions in a day.

Final thoughts
Are you ready to take advantage of your very own outdoor photo studio setup? As you grow your photography portfolio and your expertise, having a portable toolkit at your disposal will significantly increase your client reach and adaptability. Keep in mind that each photographer will require a different set-up, so make sure to tailor your equipment to your own personal needs and photography range for optimal functionality.
As you experiment with different photography styles and equipment, it is likely that your equipment and set-up will change over time. Remember that the price and brand of your equipment doesn’t determine your worth as a photographer. Your artistic vision and strategic approach do. One of the best parts of having an outdoor photo studio is the versatility it will offer. So, our last tip is to just have fun and enjoy experimenting!
Hire locations for your next photoshoot with Tutti
Choose from 1000+ spaces and locations on Tutti and deal directly with space hosts for a quick, hassle-free booking process.