You don’t take a beautiful product photograph, you make it. And beautiful product shots do not happen by chance. A lot of forethought and planning goes into it. It involves more than using top-of-the-line cameras, expensive lenses, and fancy backgrounds. While having those can certainly help, the ultimate secret sauce behind a great product photograph setup is lighting.
Because here is a fact: If you light your scene incorrectly, no fancy camera or lens will produce eye-catching images. But if you employ the art and science of lighting effectively, nothing will stop you from capturing beautiful product images, regardless of the camera you are using. Lighting is what binds the scene together and makes a product shine in all its blaze and glory.
In this nifty guide, we'll show you how to achieve the best product photography lighting with a photo studio equipment checklist. We'll take a deep dive into how you can set up your studio or portable photo studio correctly for product photography, and what lighting and equipment you will need. We'll also walk you through some of the most effective lighting setups and configurations such as the 2-light and 3-light setup for product photography and dish out some top advice to help you ace your product lighting game.
If you are on this page, it’s highly likely that you are well-versed in the product photography lighting setup basics - but, in the interest of clarity, we will still go over some of them throughout this article.
Here we go.

Product Photography lighting setup 101
You should never jump into your product photography lighting setup cold — without planning and preparation. Sure, you can do it and still produce decent captures, but would they do justice to the product you are photographing and would they be the best that you can produce? Those two questions will always be up for debate.
Pre-Production
Without proper pre-production, you will be fumbling in the dark, throwing anything and everything at the wall — hoping that something will stick, and your shot will just “click.” Thorough pre-production will take any guesswork out of the equation. You'll have a product photography idea, know where to shoot your product, what photography backdrops you should use, and how best to light up your scene.
Your product photography lighting setup depends on the type of product you want to shoot. Commercial photographers use different types of lighting to photograph food and restaurant food, skin care products, home furnishings such as carpets and curtains, and other items where the light coming in from windows will make them appear unnatural if not handled properly. Understanding the defining physical characteristics of the product you are photographing will help you determine the type of lighting you will need.
Once you understand your product, you must spend some time planning and visualizing your shoot. For instance:
- Take a long, hard look at the product. What’s the material of the product? What is its shape? It's colour? Its size? Your choice of lighting configuration, props, backgrounds, etc., will depend on the answers to these questions.
- Would the product look better if shot outside or in a studio?
- If you think it will look better outside, where would you shoot it? If you think the product photos will come out more beautiful in a studio, what type of studio would you need?
- And lastly, will you require any props and backgrounds? The answer to this question ties back with the colour and the size of the product.
- Bring it all together. Visualize the shot with all possible combinations.
Think of it this way: you’ve already shot your product in your mind, and now the only thing left to do is to execute it the second time — in your photo studio.
The key to getting the best product photography lighting setup is to bring all the disparate elements of photography together to capture a product in the most stunning way. Product shots are primary marketing tools for your photography clients, and it’s up to you to amp up the personality and charm of a product to the maximum. Only if you select the correct lighting setup and use the best props and backgrounds can you showcase your product beautifully on your photography website and knock the socks off your clients. The correct lighting setup for product photography can only be possible if you use the lights that are the best for that particular product.
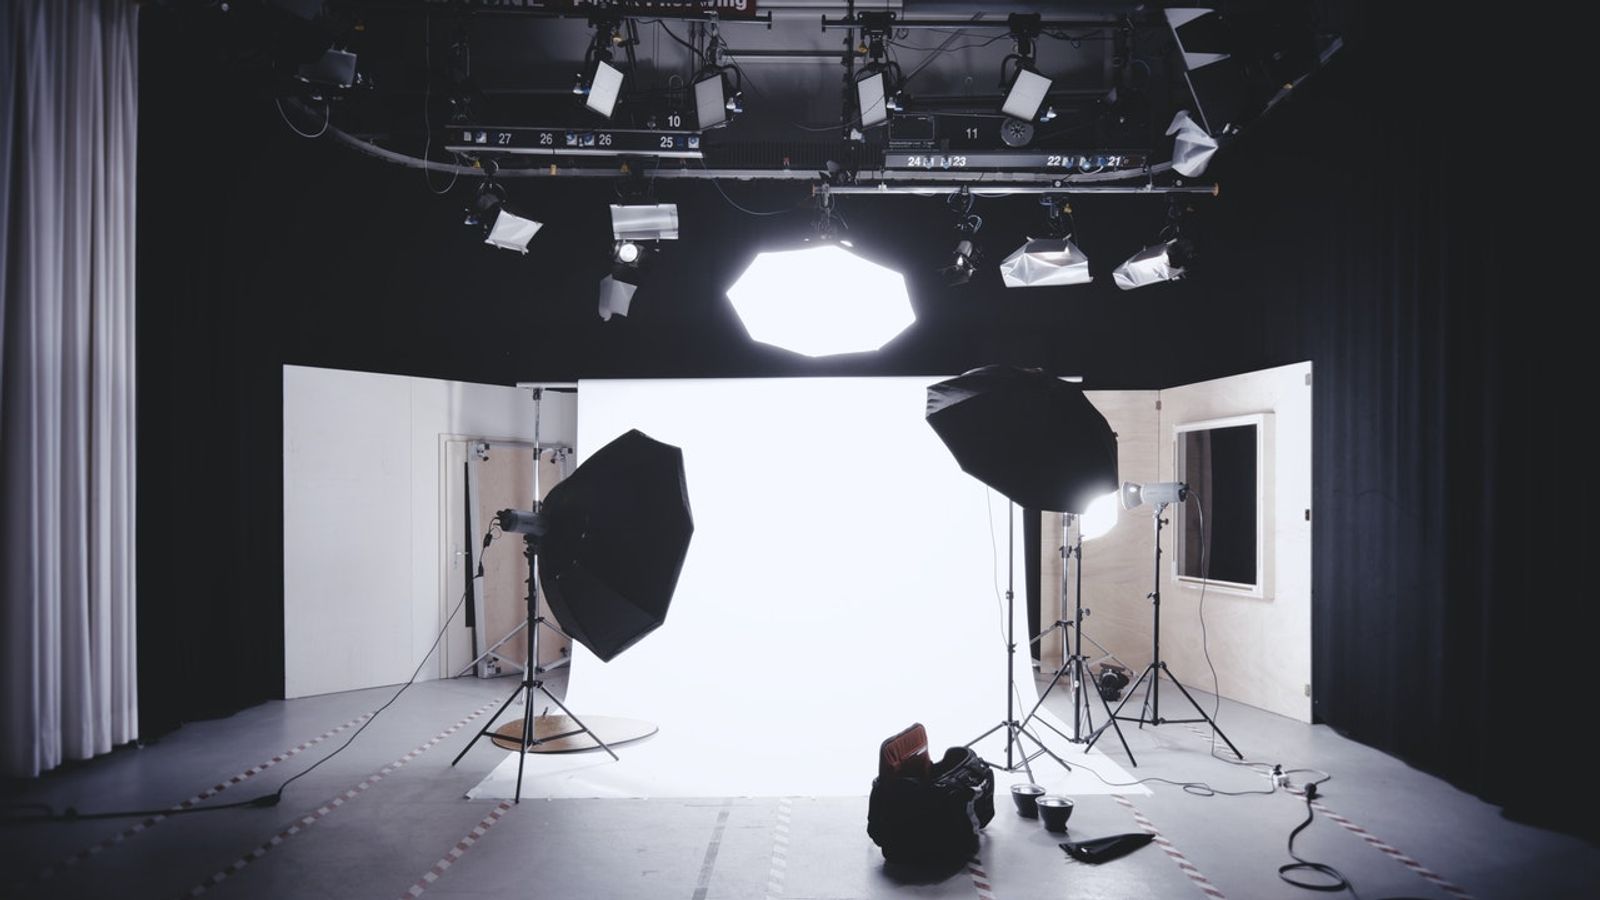
Best lights for product photography
From boudoir photo ideas to taking photographs of your latest product, lights and lighting are key to achieving great results, here are some of the most popular options.
Flashguns
Flashguns, or speed lights, are easily adjustable and are highly portable. They fire for a fraction of a second when you take a shot and illuminate the scene fully. You can always tilt and rotate your flashgun and ‘bounce’ the light to soften the light.
Strobes
If you want to create a dramatic effect and highlight the texture of the material or fabric in a close-up, a strobe will help you do it. Strobe lights work the same as flashguns, but they are more versatile in their use cases.
Continuous lights
Continuous light stays on during the whole shoot. These are the lights that you plug into a socket and control them. You can also control the lighting's intensity to create a specific atmosphere for your photo shoot. High-powered LED lights, fluorescent bulbs, and tungsten are the most popular continuous lights and all can be a great choice for low key lighting and green screen photography.
Ring lights

Ring lights will help you illuminate the shot to make products pop, and also help to give them a distinct shape. They are circular and placed around the lens of a camera or other device. They will also come in handy if you want to take some macro shots of your product. Explore the current best ring lights on the market.
Overhead lights
An overhead light is a type of artificial light that is used in photography to illuminate the subject. This type of lighting is extremely popular in food, product, and portrait photography. Incorporating overhead lights in your photoshoot concepts will illuminate your product evenly without any shadows.
Before you move on to set up your lighting, you have to set up your scene first.
Find a product photography studio for your next shoot!
Choose from 1000+ spaces and locations on Tutti and deal directly with space hosts for a quick, hassle-free booking process.
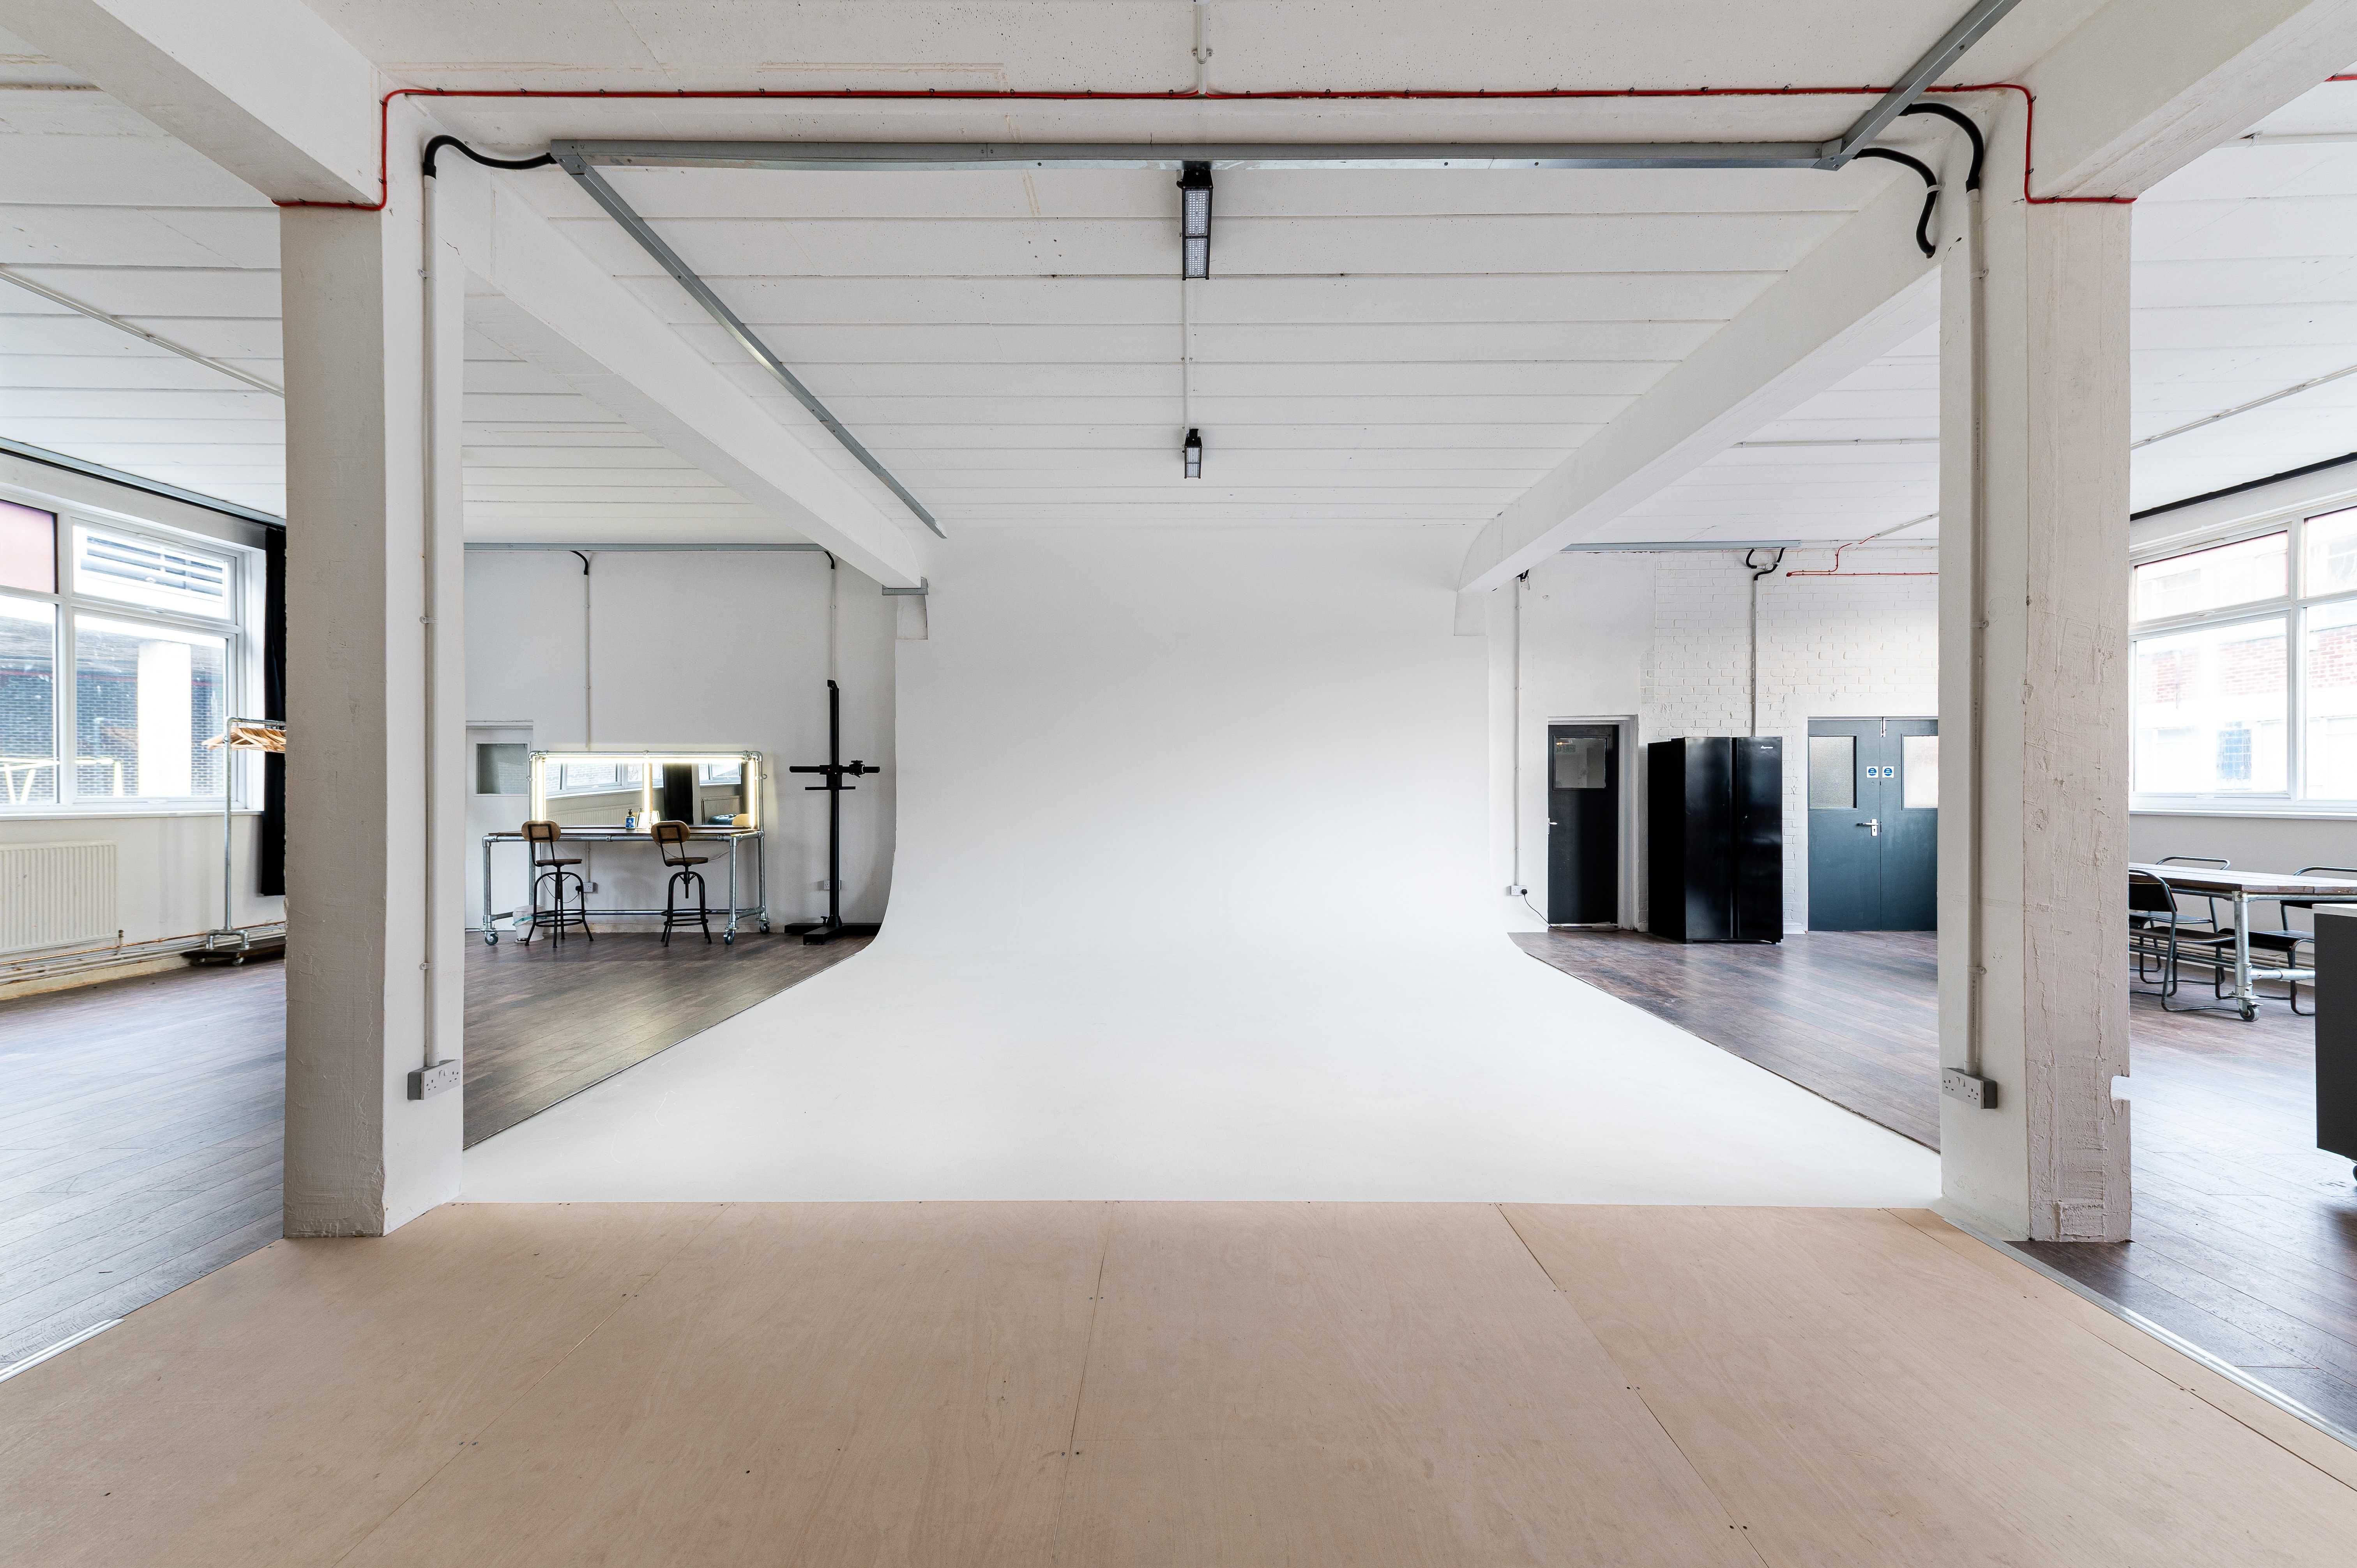
Setting the scene
Setting up the scene for product photography correctly starts with what product you intend to capture and how you want it to look. If you have done extensive pre-production, you should have identified and found yourself the perfect photo studio and made sure you've got all the photo studio equipment you require. Here are some pointers to help you get started in setting up your scene so you can take great photos for ecommerce or commercial purposes.
Check if there are any natural sources of light

Decide if you would like to use them or block them out completely — it all comes down to the aesthetics you are going for in the shot. Natural lighting can be used in a studio when there are windows, and when you have control over the light coming from them. You can also fake natural light in photography by using various techniques and equipment.
Use the correct background in product photography
Use a background that will complement the product. Ideally, you want the background to create contrast against the product to make it pop out, and you can accentuate this effect in post-production using photo editing software. A black background may make your product less visible, whereas a white background may make the product seem dull. Bright colours are also a strict no-no as they end up dominating the shot. It would also be a good idea to invest in some abstract and commercial backgrounds - check out our list of the best photography backdrops to buy.
Remove any distracting elements
If you are using a prop such as an attractive vase, it may pull the attention of the viewer away from your product. It’s best to replace it with something plain and nondescript or remove it completely. Remember that the product you are shooting should be the most attractive visual element.
Stand back and watch your scene from afar. If it’s exactly how you want it and nothing is out of place, you can move on to the most important part — selecting your lighting arrangement.
The 1 light setup for product photography

You don’t always require multiple lights to get amazing shots. A single light, if used properly, can do the job just as well, all you need is skill and a bit of creativity.
When using a one-light setup, you can use an LED, a strobe, a ring light, or an overhead light.
Direct front light
Numerous product photographers opt for front lighting because it is uncomplicated and produces professional-looking results. The setup is quite simple. Putting a flashgun, LED, or strobe in front of the product is all that is required to complete the process.
- When you set up the front light, make sure you keep it at eye level with the subject you’re photographing.
- If the lighting is too bright, and you can't dim the light, drop your exposure by a couple of steps. You can also adjust the shutter speed.
- Ensure that the background isn't too close to the product. Direct light often produces hard shadows – particularly in small-sized studios, and diffusers may not be as effective.
- Be wary of using props or cluttering your background.
Ring light
Unless you have been living under a rock, you must have seen ring lights becoming popular in the last few years. It’s hard not to when every TikToker and social media influencer flaunts it in their videos.
Yes, they are good at portrait photography, but, in product photography — they are even better. Ring lights isolate a product from the background, and they are particularly good at drawing the attention of the viewer to the product. You can also use ring lights to highlight certain features of a product.
- Ring lights are bright and don’t come with a diffuser, so try to place it away from the product if you don’t have a diffuser cloth handy. Move farther until the light softens, then take the shot through the centre of the right light.
- Shooting a brightly coloured product can be challenging. Ring lights are notorious for producing lots of blown-out highlights. It would be best to keep underexposing the shot until you get the desired result.
- Ring lights help you capture some amazing shots of small-sized products, but if you want more “fill” in the shot or maybe infuse some “mood,” we recommend switching to an overhead light.
Overhead lights
When you want some “David Fincher-esque” look to your product shots, overhead lights are how you do it. Some overhead lights come with adjustable heads that allow you to tilt them. Pairing it with a tripod and toying around with the height will let you have fun experimenting with your lighting style.
- It's important to control ambient light levels as much as possible when shooting with overhead lights, as ambient light can significantly affect exposure from too-bright reflections. If your studio has a natural light source, such as a window — it’s best to block it as much as possible or consider a blackout studio hire for photoshoots.
- If placed too close to the product, harsh overhead lights can wash out objects or create very unnatural lighting.
A 1 light setup will not work for products with reflective surfaces unless you intend to remove the light reflections during post-processing. If you want to do that in the studio, you will have to introduce a second light in your setup — which brings us to the next lighting arrangement.
The 2 light setup for product photography

A basic 2 light setup has one light providing the main light and the other providing the fill light.
The main light is usually placed on the opposite side of the camera from the subject, and it provides a bright background for your subject. The fill light is typically placed above or below the subject, and it provides some illumination to eliminate any shadows that may appear on your subject's face.
Notice how we said “usually?”
That’s because there is always room to play around and shoot products from other — better — angles.
Let’s look at three awesome two-light setups for product photography.
Rim lighting
If you are shooting bottles or products with reflective surfaces, rim lighting will produce will some dazzling shots of our products.
- You place two lights on either side of the product — the “back-right, back-left” combinations bring out the best results, but you can always experiment to get a better shot.
- If you only have two lights, you will have nothing to use as your front light. You can get around this by placing a softbox and marking its centre with a piece of paper or cloth. When you position your product in front of the box, the rim lights will illuminate the sides of the product.
Lighting from below
When using this technique, you do exactly that — you light up from below — and create a dramatic effect on your product. The lighting from below technique will help you create shadows and highlights on the surface of the object, which makes it more appealing to customers and grabs their attention.
The best results are achieved when light falls on the subject at a 90-degree angle. Several photographers place the light below the glass such that it lights up the product at a 90-degree angle, as this usually produces the best results.
- To light up from below, use a makeshift table and put a glass or sheet of plexiglass over it.
- Under the glass, place a single light that shines upwards on your object.
- Use a diffuser or dimmer to get the brightness and the softness that look the best to you.
- You can further use a neutral density filter if you think the image is still overexposed.
Gradient lighting
If you want to take product photos that not only look professional but also absolutely bonkers, the gradient lighting setup is how you can do it. There are several ways to achieve a gradient look.
- One of the most popular methods is to use two lights with different colour temperatures, such as one warm and one cool light. You can also use coloured gels to get the same effect.
- Lights placed at 45-degree angles will cast a gradient on a product when pointed directly down and then up at the same surface without changing position.
- Lights placed at 90 degrees will cast a gradient when they are pointed up vertically at different heights.
- You can also shoot through an umbrella placed behind the product to create a backlit shot with an indirect stripe light applied to it — this will also create an interesting gradient effect.
The 3 light setup for product photography

The 3 light setup is the most widely used lighting arrangement among photographers. The setup involves:
A frontal light (Key): This is where the main light source is coming from the front, giving a flat and even illumination on both sides of the product.
A side light (Fill): This is where one side of the product is lit and creates shadows on other parts of it.
A backlight: This is when a secondary light source illuminates only one side or edge of a product, creating a dramatic effect.
You can use anything from LEDs, light bulbs, strobes, and flashguns. To ensure that everything appears uniform, use the same sort of light source. You should also ensure that the colour temperature remains constant. Having the same type of light source also permits more lighting control. Due to their identical output, you need not worry about one unit outperforming the others.
The goal of using this type of lighting is to create an image with dramatic quality and contrasts between high-key or low-key areas on particular features of the subject.
- Place three lights at around 45-degree angles from one another, forming a triangle on the set. This provides even illumination for all parts of the scene, from top to bottom and side to side.
- Also, remember that the angle at which you place the lights isn’t set in stone. You can get creative and change the look of the shot by moving the lights around.
- Your creative goal should determine how you arrange the three lights and their brightness. So, experiment with your ISOs and f-stops along with using diffusers, umbrellas, and reflectors. You'll be surprised by what you can achieve with some creative product photography ideas.
So far, we have only covered product photoshoots in a studio with artificial lights. Let’s now see how you can snag amazing pictures of your product under natural light.
Working with natural light to shoot products
An important thing to consider when using natural light is choosing the best photoshoot locations that suits the style of shot you're trying to create.
Taking product photos outdoors
If you're working with an outdoor photo studio, there are two main ways to take pictures with natural light:
Shoot against the sun
If your product has a matte texture, shooting against the sun will produce a stunning light reflection of your product, highlighting the texture while also maintaining deep shadows and good contrasts.
- Place a reflector where you would normally place a fill light to improve the highlights and preserve the colours of the light reflecting on your product.
- If your product has a glossy texture, shooting against the sun will produce a noticeable loss of contrast and colour saturation, with dramatic shadows that can obscure detail.
Shoot under a shade
Shooting under a shade with soft lighting will help you get a beautiful glow on your product. This is ideal for products that have a shiny texture, like glassware or jewellery.
- Find a spot away from direct sunlight and angle the product so that light bounces off it properly. Try to capture all angles of your product by rotating it slightly as needed.
- Make sure all areas of your product have a chance to be in the image. If required, place a reflector under direct sunlight and ‘bounce’ the light at the product by angling the reflector towards the product.
- You may have to use a diffuser or an umbrella to fine-tune the desired output.
Taking product photos indoors
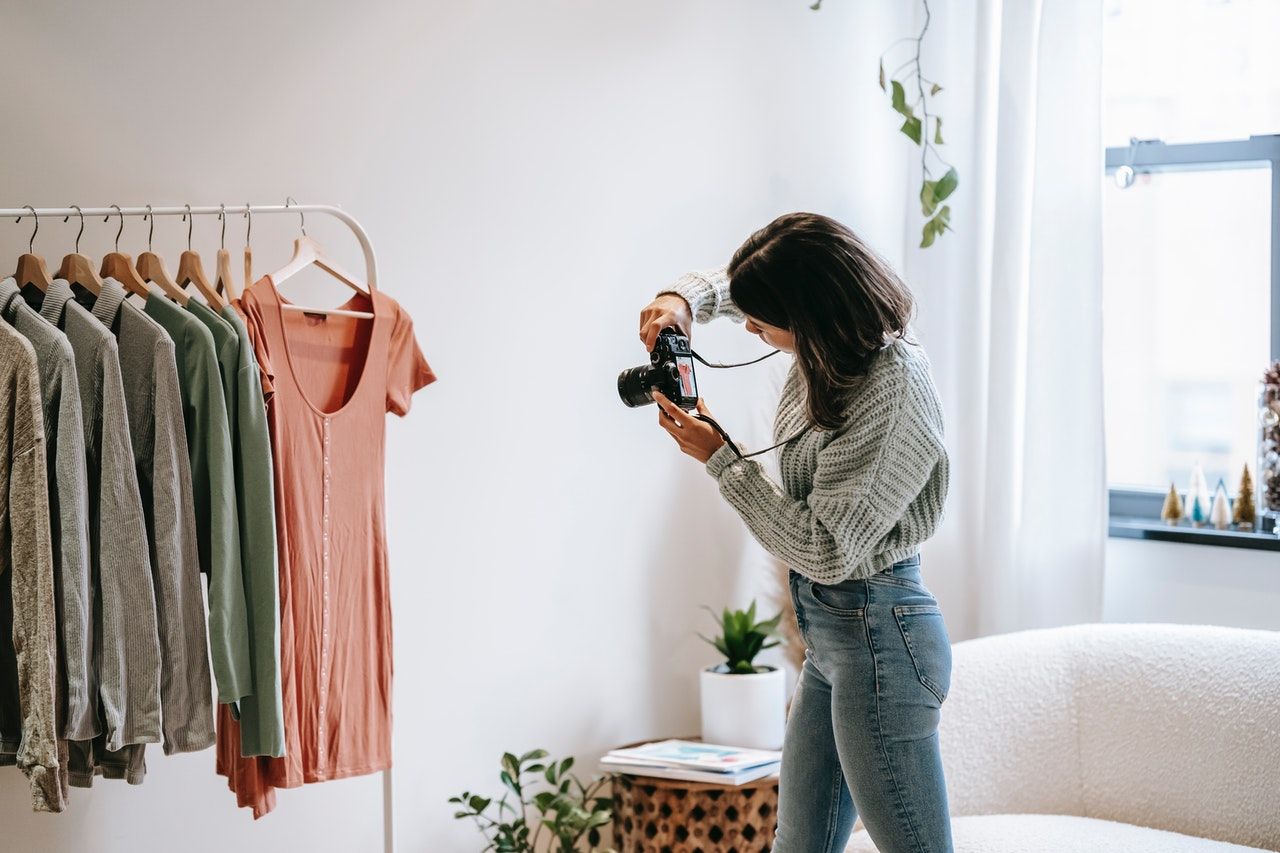
Taking good shots of your products at your home studio or daylight photo studio under natural light is easier than you think. Many people have a challenging time catching the perfect shot of their product on their own. Here are some pointers that will help you snag some great product shots:
- Firstly, we must get that pesky elephant in the room out of the way: Yes, you can use flash when shooting indoors under natural light. A flash may create harsh shadows and undesirable reflections, but if you mix the light from the flash with natural light — it will soften the hard shadows.
- Consider the time of the day when the sunlight peeking into the room is at its best. For instance, if the light source — the window or the door — is in the east or northeast, then plan your shoots in the morning or around noon. If the light source is in the south or north-west, plan your shoots in the afternoon.
- We recommend taking test shots first — starting with a slow shutter speed of about 1/500 paired with f/2.8 or 1/1000 paired with f/2.0 along with ISO 400 and the flash power of 1/32. When you want to make things brighter, you can try decreasing the shutter speed. If you intend to darken things, then increase your shutter speed instead. Keep in mind that you are using the flash not to replace the natural light, but to enhance your shot.
- Also, consider the angle of daylight for your best shots when you want to shoot with natural sunlight.
- Tinker with your camera’s exposure settings and shutter speeds to gain additional control over the brightness of your shot
- If you find that natural light is insufficient, you can use a white sheet of card or paper as a reflector card to help bounce light back onto your products.
- If the natural light is too bright, you can always move the product away from the window to reduce the brightness.
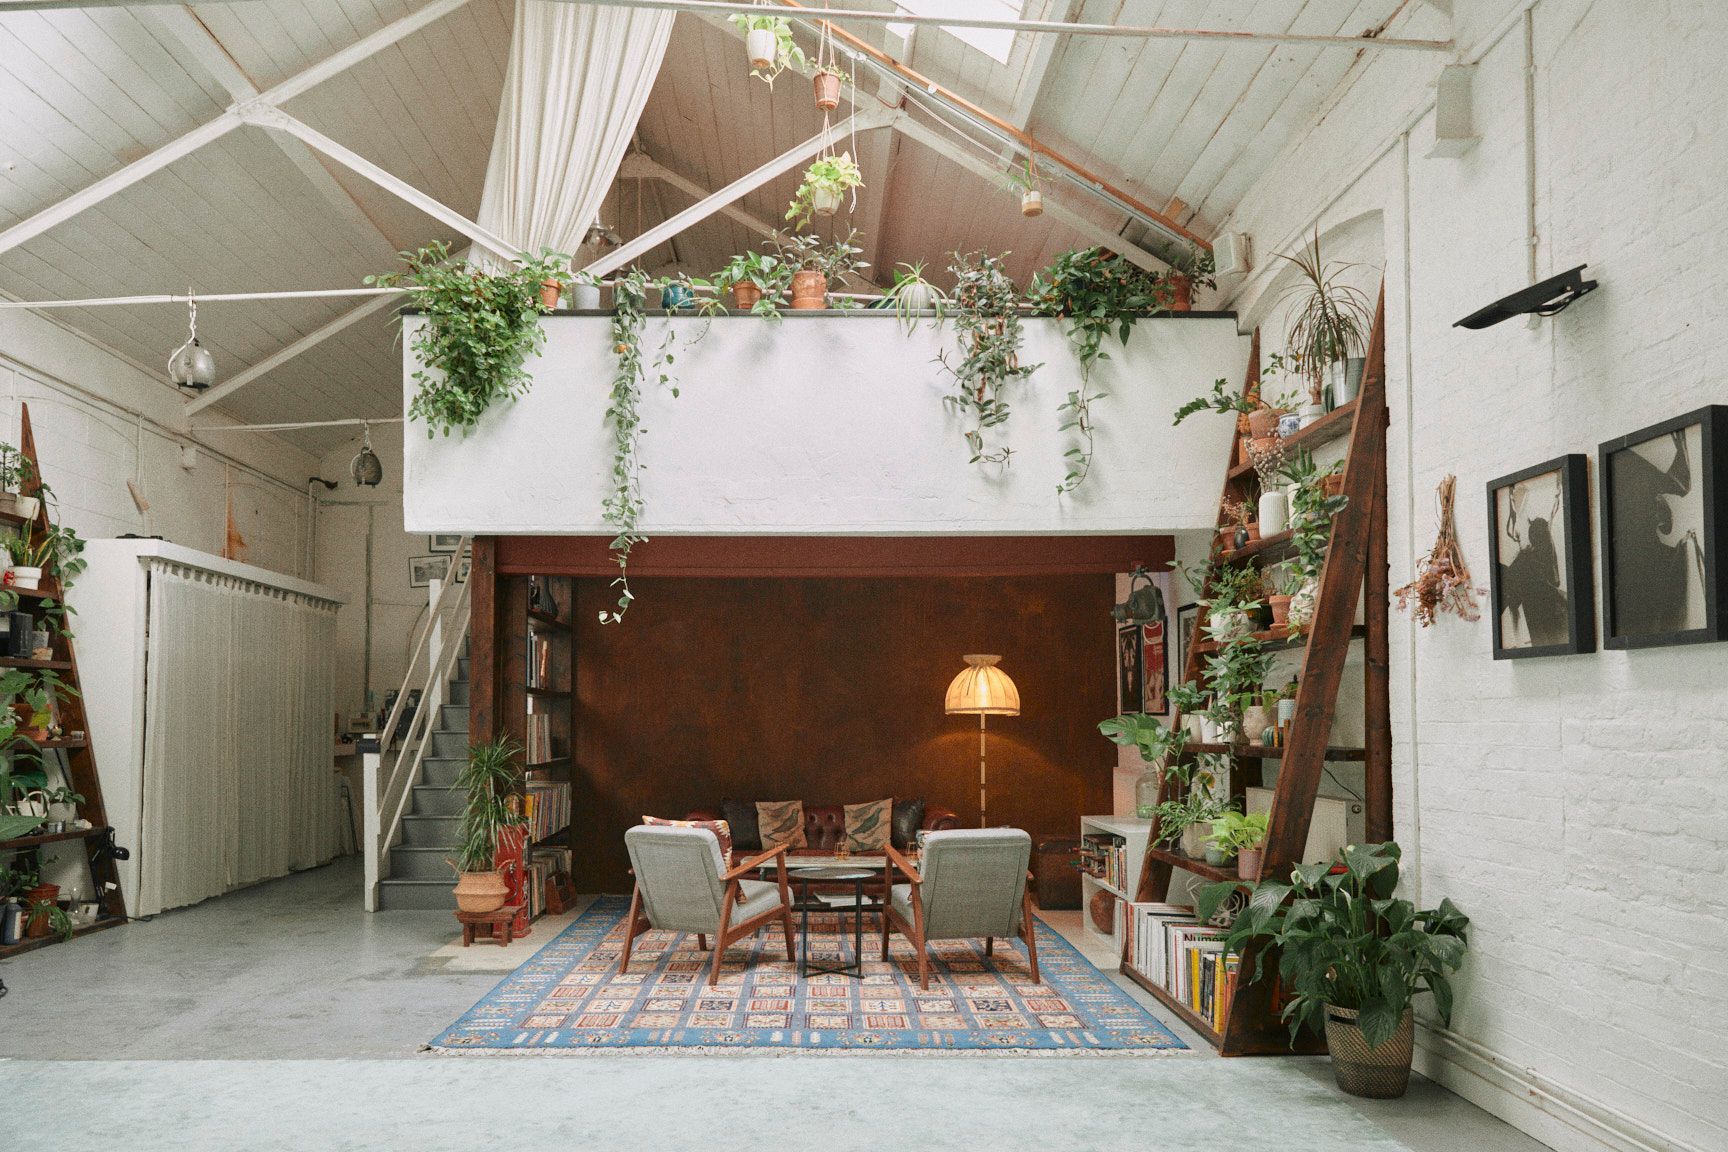
Things to know about hiring photo studios
A photo studio is where you are going to build your portfolio and grow your photography business. There are some things you should consider when looking for a product photo studio to rent.
- The first thing to think about is the size of the photo studio. How many people are you planning to have in your photo studio? Do you need space only for shooting small products, or will you require more room for a larger family photo shoot?
- How much time do you want to spend at the photo studio? If you are looking for a short-term rental for an event, then it's best to find a place with high-quality equipment and ready-to-go availability. But if you want something more long-term, then the cost of renting may be worth it if the space fits your needs and style.
- The location of the photo studio should be near your office or home if you are going to rent it for long periods of time. It is also important that the location is easy to access by public transportation. If you are renting it for a short period, then this may not be as important as it is for long-term rentals.
- And finally — your budget. It is essential to think about how much money you want to spend on the rental before anything else. This will help you narrow down your choices and find something that suits your budget.
If you still need help, we would be happy to talk to you and help you find the right photo studio for you. You can also head here to take a peek at what we offer.
Hire locations for your next photoshoot with Tutti
Choose from 1000+ spaces and locations on Tutti and deal directly with space hosts for a quick, hassle-free booking process.